Do you want to learn the easiest way to set priority for each task in Projectopia? In any project, a task is a piece of work or activity that has a specific purpose and adds value to the goal that is to be obtained in the long term. Completion of multiple tasks leads to the completion of a project.
Projectopia Plugin enables its users to project tasks as well as Adhoc tasks. An Adhoc task is a kind of task that isn’t linked to any project. This feature is available for only Projectopia Users and Projectopia Admin. You can add both tasks and Adhoc tasks based on your own requirements.
In this article, we will teach you the easiest way to set priority for each task in Projectopia – Project Management Plugin. Also, learn the way to add an Adhoc task. But before beginning the step by step guide let’s know about the Projectopia plugin that we’ll use to priority for each task on your website.
Table of Contents
Projectopia – WordPress Project Management Tool
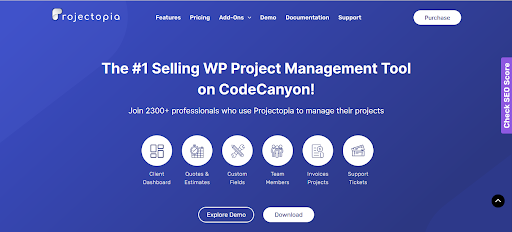
Projectopia is the best-selling WordPress Project Management Tool on CodeCanyon. This plugin will help you run your business and/or project efficiently and effectively by providing almost every tool that you need to have proper communication with your client and team members. You can also get premium Add-Ons to use the additional features on your website. The plugin enables you to set priority for each task in the most systematic and organized way.
Set Priority for Each Task in Projectopia
As we know about the Projectopia plugin and its uses, let’s move forward to set priority for each task using this amazing WordPress plugin:
Step 1: Install and Activate Projectopia WordPress Plugin
First of all, install the Proectopia Project Management Plugin on your website.
You can get Projectopia Plugin from WordPress Repository or the Official website.
If you are a WordPress beginner you might not know how to install a WordPress Plugin. In that case, go through our tutorial ‘How to Install New WordPress Plugin’
Make sure to Activate the plugin after you install it.
Once the plugin is activated, you’ll be able to see the Projectopia section on the left sidebar of your WordPress dashboard as shown in the screenshot below.
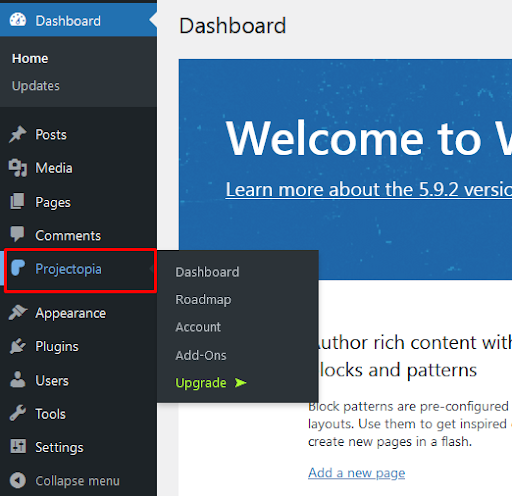
This is the end of our first step to Install and Activate the Projectopia – Project Management WordPress Tool.
Step 2: Add Milestone in Projectopia
Before adding any task you need to make sure that you have already added the milestone of your Project.
If you don’t know the way to add a milestone go through our article ‘How to Add Multiple Milestones in Projectopia’
Step 3: Set Priority for Each Task
Once you have added the Milestone as per your Requirement, now you can add a task to it. Follow the following steps to set priority for each task:
- Click on the Add Task button on the Milestone where you would like to add the task.

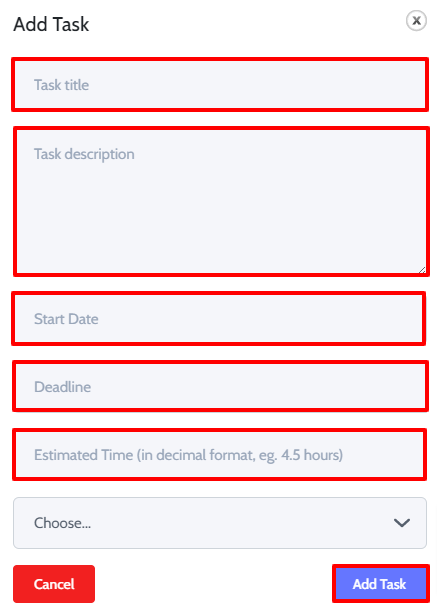
- In Add Task modal, firstly add the Task Title then the Title Description.
- Similarly, select the Start Date and Deadline of the task.
- Select the Estimated Time.
- Finally, click on the Add Task option to create a task as per the changes you have made.
This is the completion of our final step to set priority for each task in Projectopia.
Set Priority for Each Adhoc Task in Projectopia
Adhoc Task is only available to Projectopia User and Projectopia Admin. Let’s begin the step:
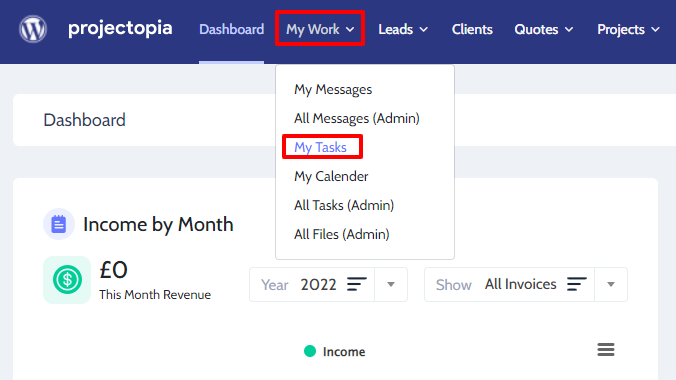
- First of all, go to the Dashboard of the Porjectopia Plugin.
- Then click on the My Work>>My Tasks option at the left top of the page.
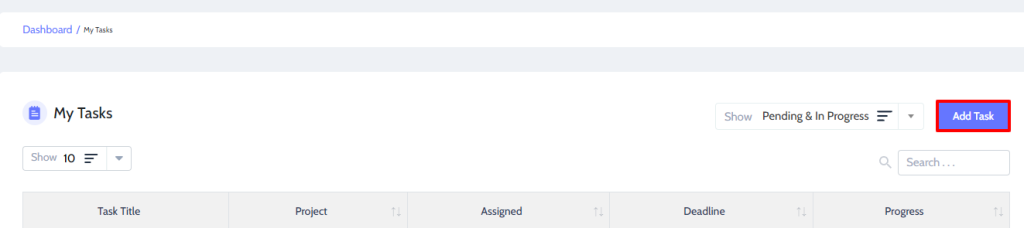
- Now you’ll be able to see all the Tasks that you have listed before.
- Then click on the Add Task button at the right top of the page.
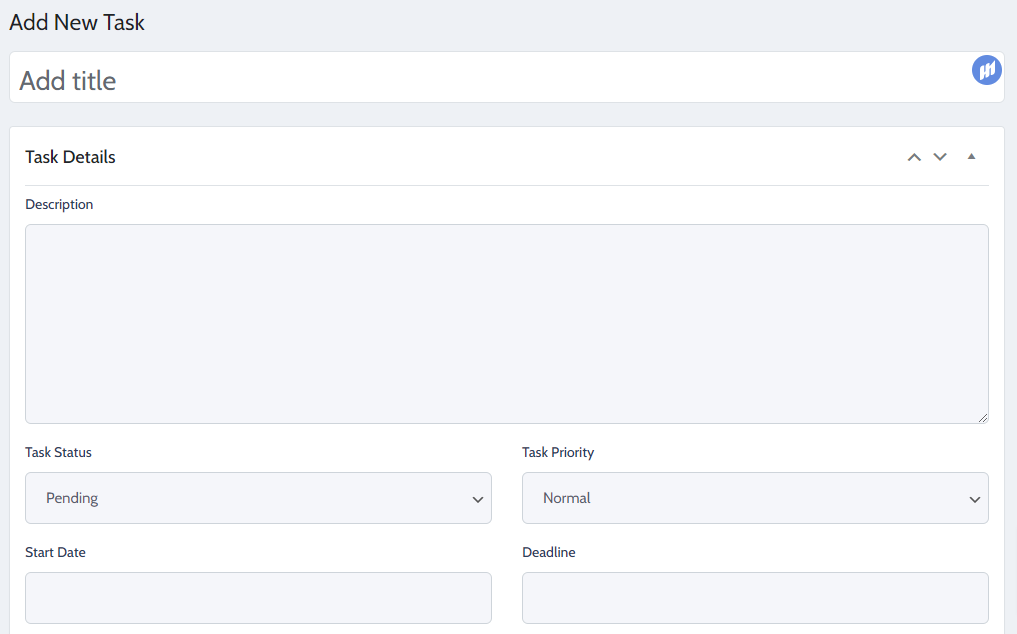
- Firstly, Add title of the new task.
- Then, give an appropriate Description of your task.
- Select the Task status and Task Priority as per your own requirements.
- Similarly, choose the Start Date and Deadline of the new task.
- Mention the Estimated Time.
- Select the Percentage Complete and choose the Main Assignee.
- Choose File in the Task Files if needed.
- You can Add message if you want.
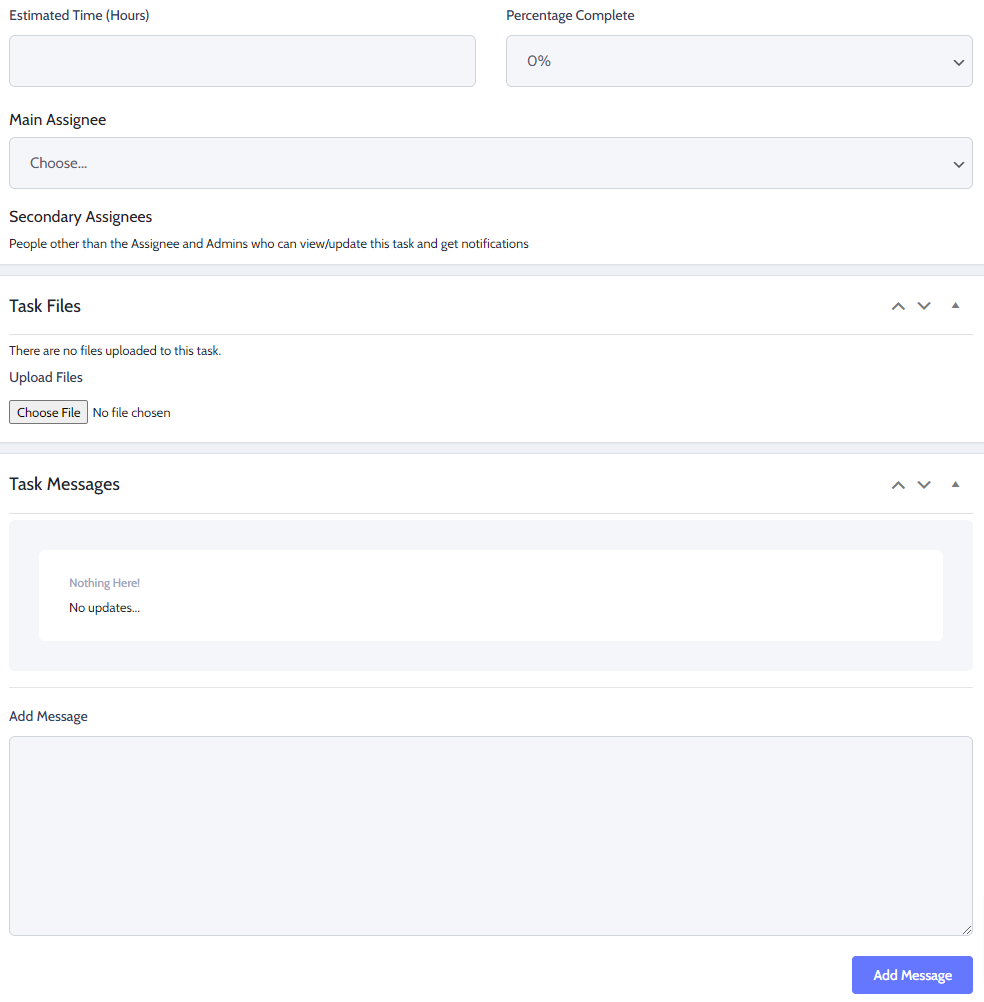
- Finally, click on the Update Task option at the top of the page.
Wrapping Up:
This is the end of our tutorial guide on ‘How to Set Priority for Each Task in Projectopia’ Follow the guide step-by-step to set priority for each task in the Projectopia WordPress Plugin on your WordPress website.
If you feel stuck on any of the steps, do let us know in the comments section below. We would be happy to help you throughout. Also, do let us know what you think of this tutorial guide.
Also, Check-Out: