
Do you want to learn the easiest way to generate reports in Projectopia? Project reports are an essential source of information to know the progress and compare it with the initial planning. Reports can create a kind of reassurance among stakeholders, managers, customers, and team members about the project. In general, reports can be viewed by those who have access to it.
Projectopia Reports enables its users to generate reports from the Projectopia core data. Then it can be displayed on the screen as well as exported in various formats (PDF, CSV, Excel, Print and Copy).
If you have landed in this article we are sure you have already installed Projectopia – Project Management Plugin on your WordPress website. Also, if you are wondering ‘Why to use Projectopia to generate reports?’, we want to let you know that this plugin is the best selling tool in CodeCanyon. Its user-friendly interface and enriched features will make sure that you don’t have any sort of inconvenience while generating the Projectopia Reports.
In this article, we will teach you a simple step by step guide to generate the Projectopia Reports. But, before that let’s know about the Projectopia Report Add-On in detail that we will be using in this tutorial to generate reports.
Table of Contents
Projectopia Reporting Addon
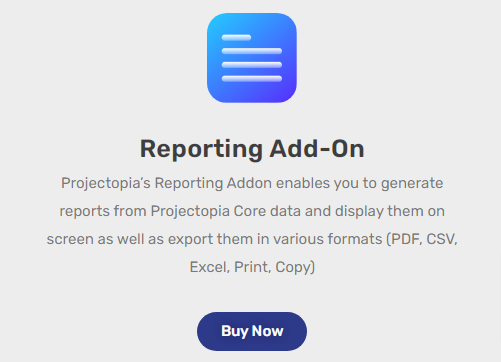
Projectopia Reporting Add-On has been designed to generate reports in the easiest way possible i.e. you can run everything from one page. You can generate Projectopia Report from the core data and display themes on screen or export themes in your desired formats. All you need to do is select a report type or item if required. It is a zero-configuration plugin so you can use it straight away after it is installed. Also, this addon is really economic as it will cost you just $19 and will manage to provide you updates and support for a year.
Generate Reports in Projectopia with Reporting Add-On
As you already know about the Projectopia Reporting Add-On, let’s move ahead and learn the step by step guide to generate reports with ease.
Step 1: Install and Activate Projectopia WordPress Plugin
First of all, make sure to Install and Activate Projectopia – Project Management Plugin on your WordPress website.
You can find the plugin on the WordPress Repository or Official website. You can also simply download it from the site dashboard.
If you have any kind of confusion while installing and activating the plugin make sure to follow our tutorial guide on ‘How to Install New WordPress Plugin?’
After you activate the plugin, you can view the Projectopia section on the left sidebar of your WordPress dashboard as shown in the screenshot below.
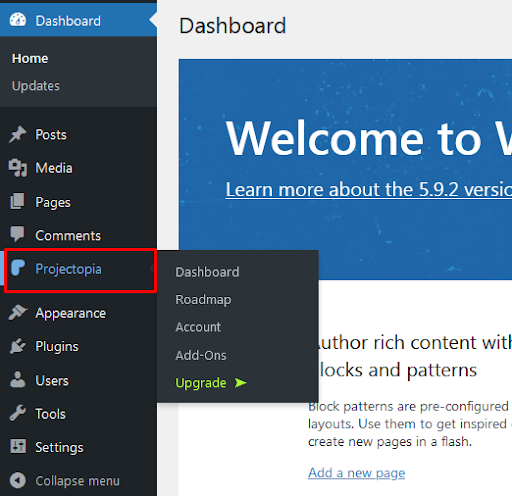
This is all you need to do to install and activate the Projectopia Plugin.
Step 2: Add Reporting Add-On to your Projectopia Plugin
The best part about using the Projectopia plugin is its premium Add-On. Users can add new functionalities and features to the plugin as per their own necessity at a reliable price and easy way. Among many other Addons, Reporting Add-On is a feature enriched add-on that enables you to generate reports from Projectopia Core data and display them. You can also export the data in various formats.
Step 2.1: Purchase Reporting Add-On
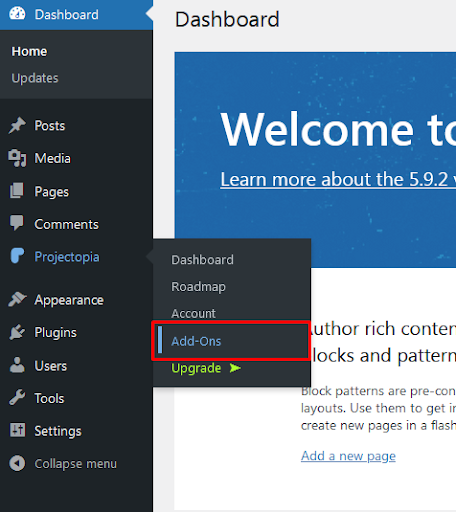
- First of all, go to Projectopia>>Addons.
- Now hover over Projectopia Reporting on the given page.
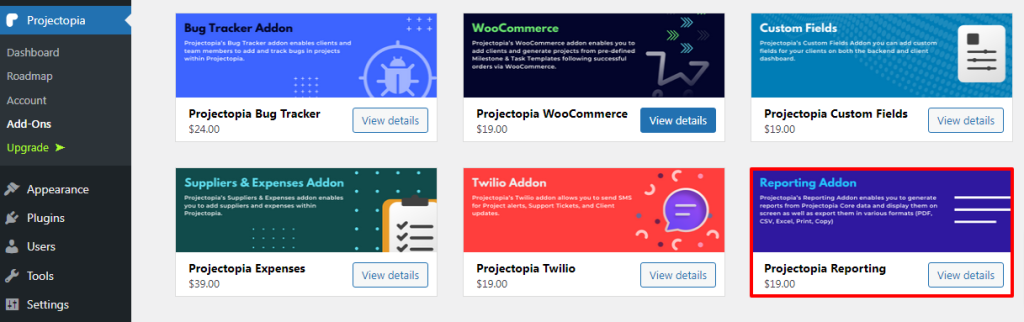
- Then select the View Details option.
- You’ll be provided with 3 different premium plans, select the one that’s most suitable for you.
- Click on the Purchase button.
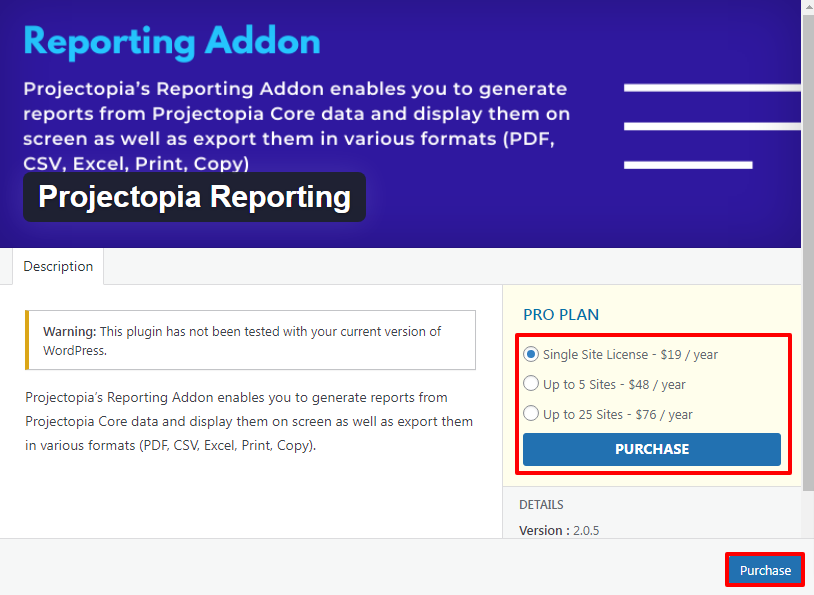
- Make sure to enter all the necessary details and information while purchasing the addon.
- Then the addon will be ready to use.
Note: You can view all other addons offered by the plugin in detail to purchase the necessary one for your website. This saves your time in the payment process. Even if you buy in bulk or a single Addon at a time, the payment process will be the same!
Step 2.2: Activating Reporting Add-On
Once you purchase the Reporting Add-On you can see the zip file downloaded automatically to your personal computer. In order to use the addon, you need to upload the addon to your WordPress website.
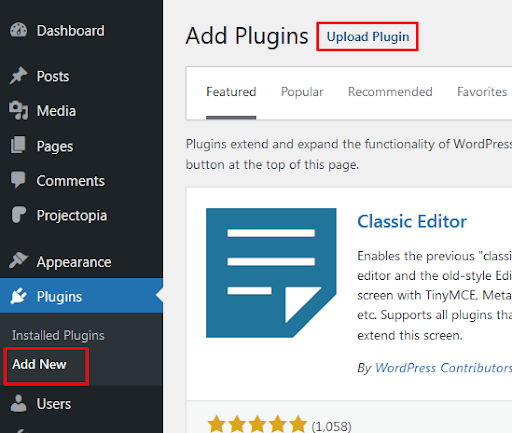
- Click on Plugins>>Add New button on the left sidebar of the page.
- Then Select the Upload Plugin button at the top of the page.
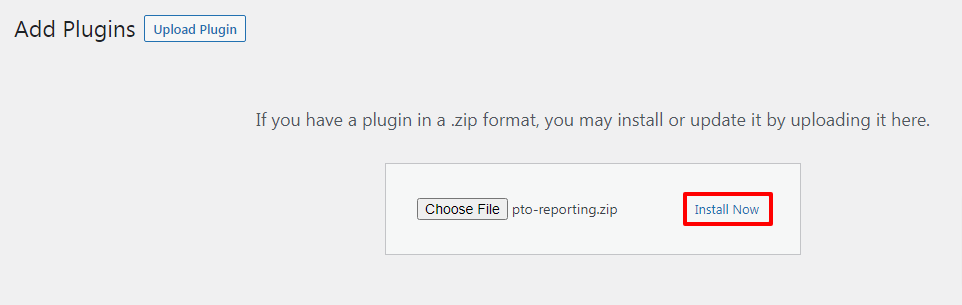
- Upload the zip file and select the Install Now button.
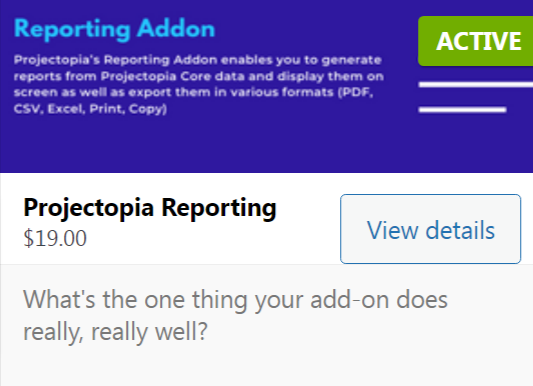
- Now Activate the addon.
- You can see the Active status of Projectopia Reporting Add-On on Projectopia>>Add-Ons Page.
By now the Projectopia Reporting Addon is ready to use and this is the end of our second step.
Step 3: Use Reporting Addon to generate Projectopia Reports
The Reporting Add-On is designed in such a way that it can be run from one page.
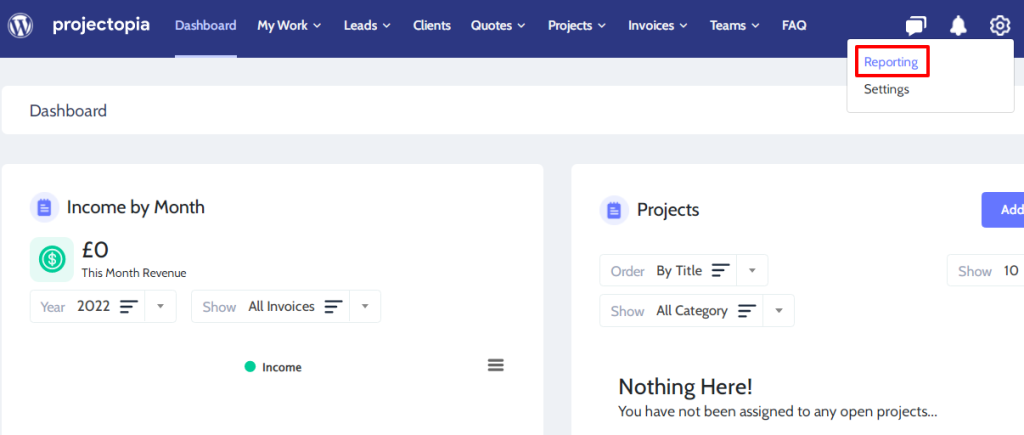
- In order to use Reporting Addon, Click on the Reporting button above the Settings button.
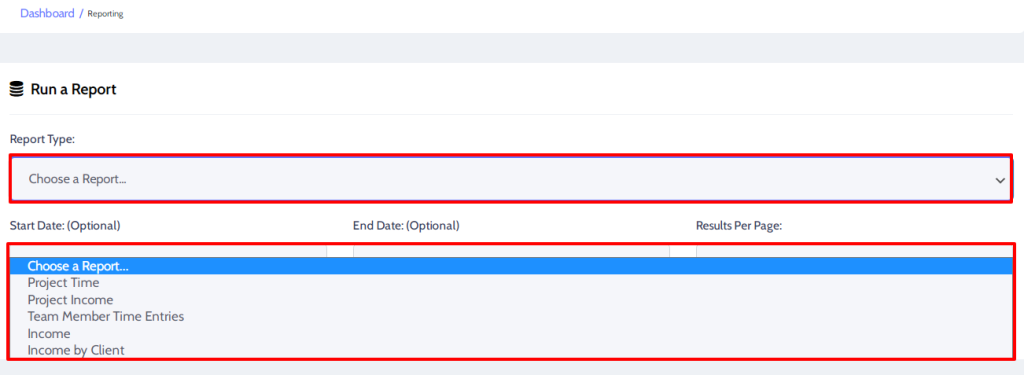
- In order to run a report choose a report type. There are different types of reports. Choose the one which reports you want to generate.
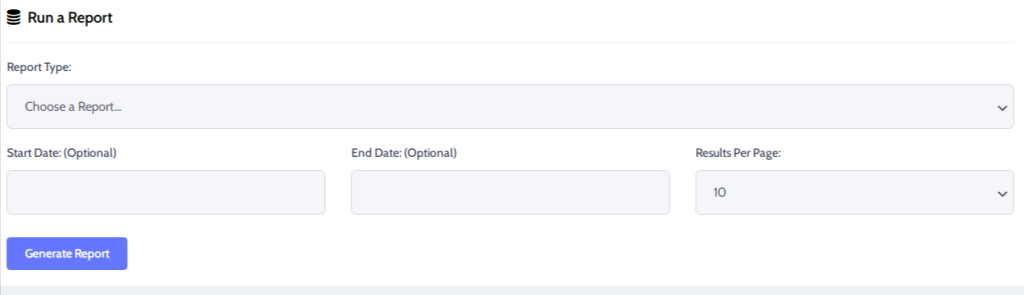
- Choose an optional Start Date and End Date as per your own requirements.
- Also, make sure to select the Results Per Page.
- After making the changes finally click on the Generate Report button.
- The Report results will be available in various formats. Make sure to click on the Export button of the format as per your need.

This sums up the end of our final step where we learned to generate Projectopia Reports.
Wrapping Up
This is the end of our tutorial guide on ‘How to Generate Reports in Projectopia’. Make sure to follow the guide step-by-step to generate reports in Projectopia without any hassle. Happy reports generating in Projectopia!
If you get stuck while following any of these steps feel free to ask questions in the comments section below. We would be happy to help you throughout. Also, do let us know what you think of this tutorial guide.
Also, Check-Out: