Do you want to learn the easiest way to manage project requests and approval in Projectopia? Project Request is an agreement that is made between two or more parties while exchanging work with specific terms and conditions. It enables you to have transparency between you and your clients while carrying out any kind of project.
Projectopia plugin allows the manager to draft their Project requests effectively. Then it is pitched to the clients to get approval before moving ahead with the collaboration. A single miscommunication may lead to creating a negative impact on the collaboration while reaching out to the client and finalizing a project. So, manage your project requests and approval in an efficient way to avoid the risk at all costs.
You might be curious about “Why to Use Projectopia to manage project requests and approval?” In order to answer your question let’s know about Projectopia Project Management Plugin shortly.
Table of Contents
Projectopia – WordPress Project Management Tool
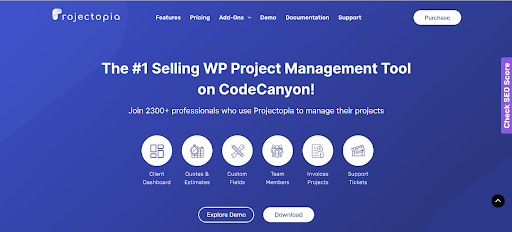
Projectopia is the best-selling WordPress Project Management Tool on CodeCanyon. This plugin will enable you in engulfing transparency with your clients by managing project requests and approval in the best way possible with its project request portal. It provides its users with the ease and flexibility to create project requests using the default template. Also, you can preview your project requests before sending them to your clients.
Get premium Add-Ons in the Projectopia plugin if you want to use the additional features on your website. The plugin enables you to carry out, handle and manage your project in the most systematic and organized way.
Manage Project Requests and Approval in Projectopia
We hope by now you know about the Projectopia plugin, it features and uses. Now, in this article we will teach you the step by step guide to manage project requests and approval in Projectopia. Let’s move ahead!
Step 1: Install and Activate Projectopia WordPress Plugin
Firstly, make sure to install Proectopia Project Management Plugin on your WordPress website.
Get Projectopia Plugin without any hassle from WordPress Repository or the Official website.
If you don’t know the way to install a WordPress plugin, go through our article ‘How to Install New WordPress Plugin’
Activate Projectopia plugin after you install it.
After activating the plugin, you’ll be able to see the Projectopia section on the left sidebar of your WordPress dashboard as shown in the screenshot below.
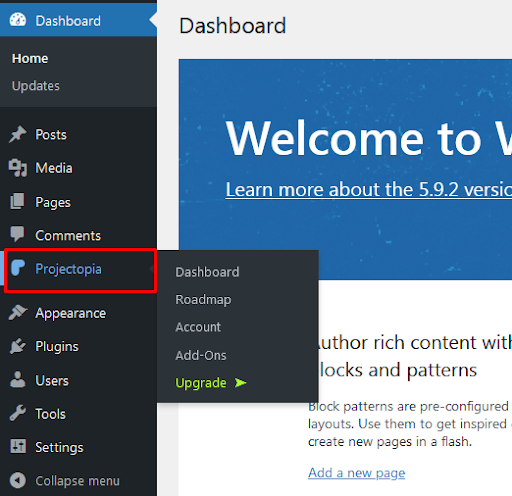
This is the end of our first step to Install and Activate the Projectopia – Project Management WordPress Tool.
Step 2: Create Project Requests
In order to create a Project Requests in Projectopia follow the below-mentioned steps:
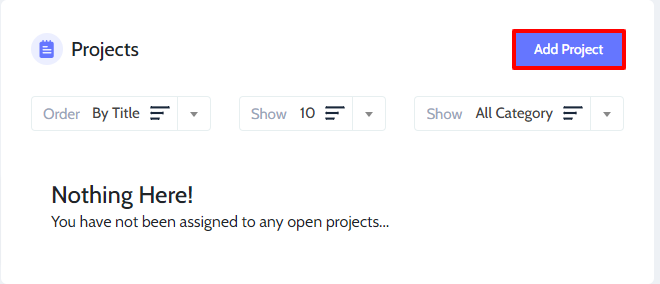
- Firstly go to Projectopia>>Dashboard at the left side bar of your website.
- Then click on Add Project button.
- Make changes in every option of the Project Details as per your own requirements.
- After filling out the important details click on Save button.
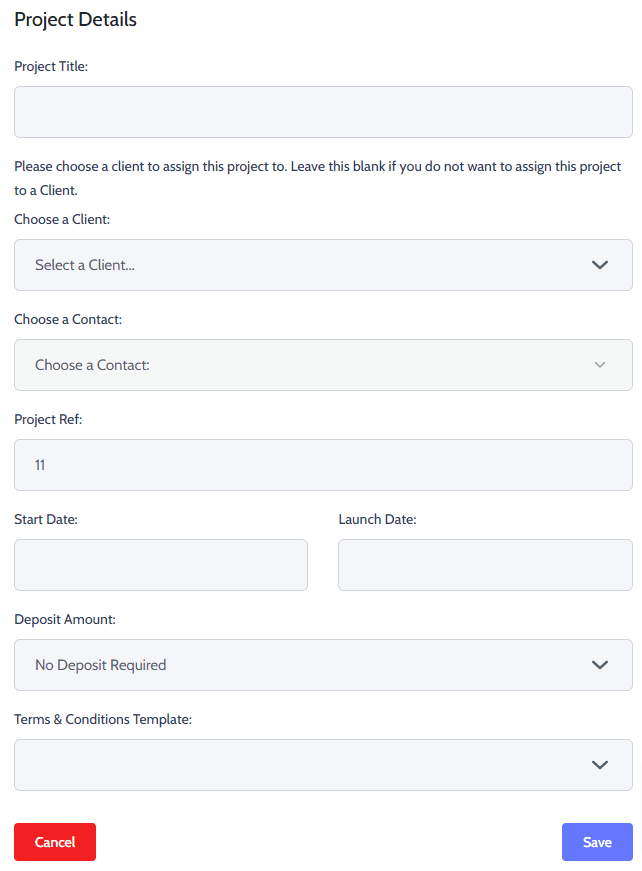
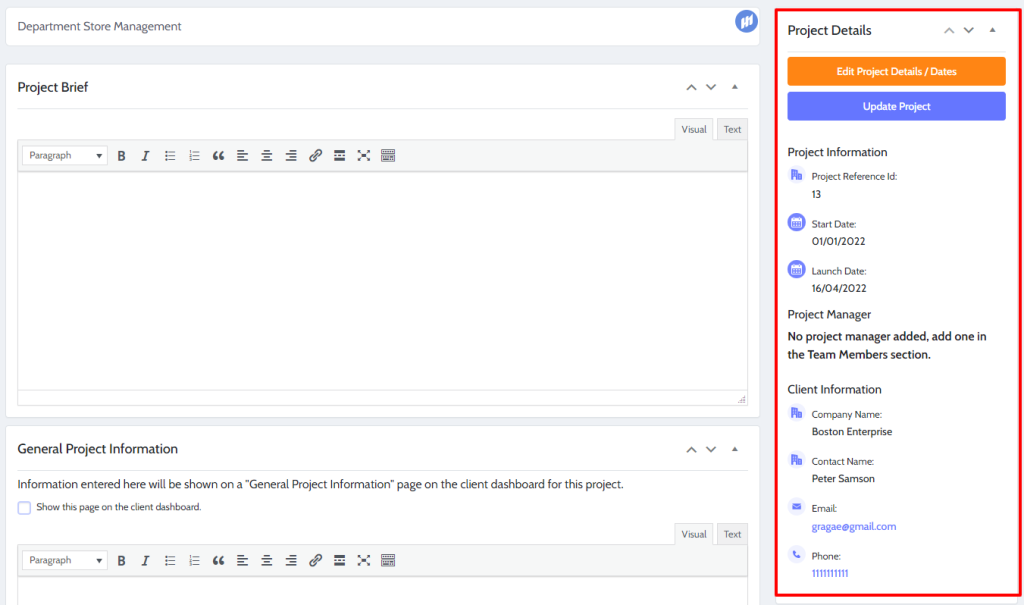
- Finally, you’ll be able to see the details of the project on the right side of the page.
Step 3: Preview Project Request
It is really necessary to make sure that the Project request doesn’t include any kind of mistake or eros as it might create trouble. In order to make sure everything is correct view your project request yourself before send it by previewing it.
- Click on the Preview Contract button on the right side at the page.
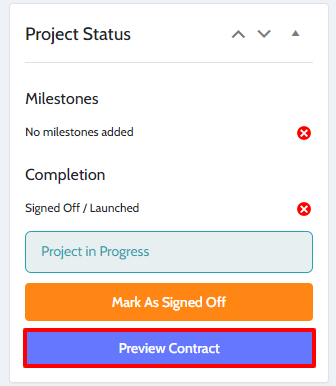
Recheck all the details. Once you are done proceed further to send the project request.
Step 4: Send the Project Requests
Follow the following steps to send the project requests:
- Edit your Project and Scroll down to see Send Contract Button.
- Once you see it Click on the Send Contract Button.
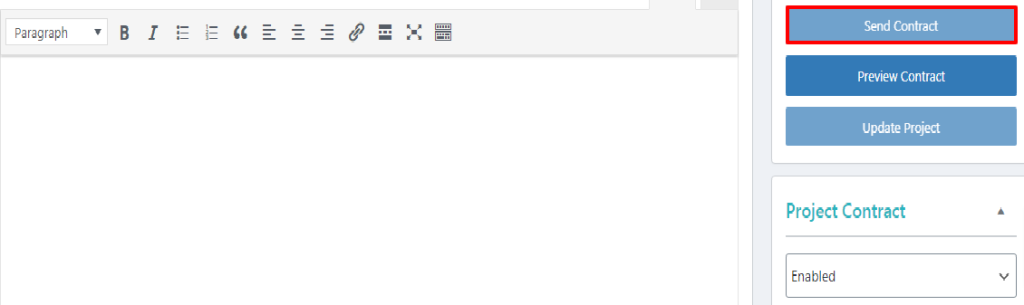
This is the end of our fourth step now the Project requests will be sent to your Client’s Dashboard.
Now, your client will receive an email notification notifying them about the project request.
Wrapping Up:
This is the end of our tutorial guide on ‘How to Manage Project Requests and Approval in Projectopia’ Follow the guide step-by-step to manage project requests and approval using the Projectopia WordPress Plugin on your WordPress website.
If you feel stuck on any of the steps, do let us know in the comments section below. We would be happy to help you throughout. Also, do let us know what you think of this tutorial guide and Projectopia plugin.
Also, Check-Out: