Do you want to learn the easiest way out there to test a WordPress site before going live? This testing option can be addressed using InstaWP.
When you test a WordPress site created from InstaWP before going live as you will be able to address the errors, issues, items that are left out, spelling and grammar mistakes, image issues, designs, and much more. Once you update your website and make all the necessary changes after previewing it, you just need to hit the publish button.
In this article, we will show you the simplest way to test a WordPress site and make sure that everything is in the right order before making your website live.
But, before that let’s get familiar with InstaWP, a tool that will enable you to test your next WordPress Idea and create a WordPress sandbox with amazing flexibility. Let’s begin:
Table of Contents
InstaWP – Instant WordPress Sites for Everyone
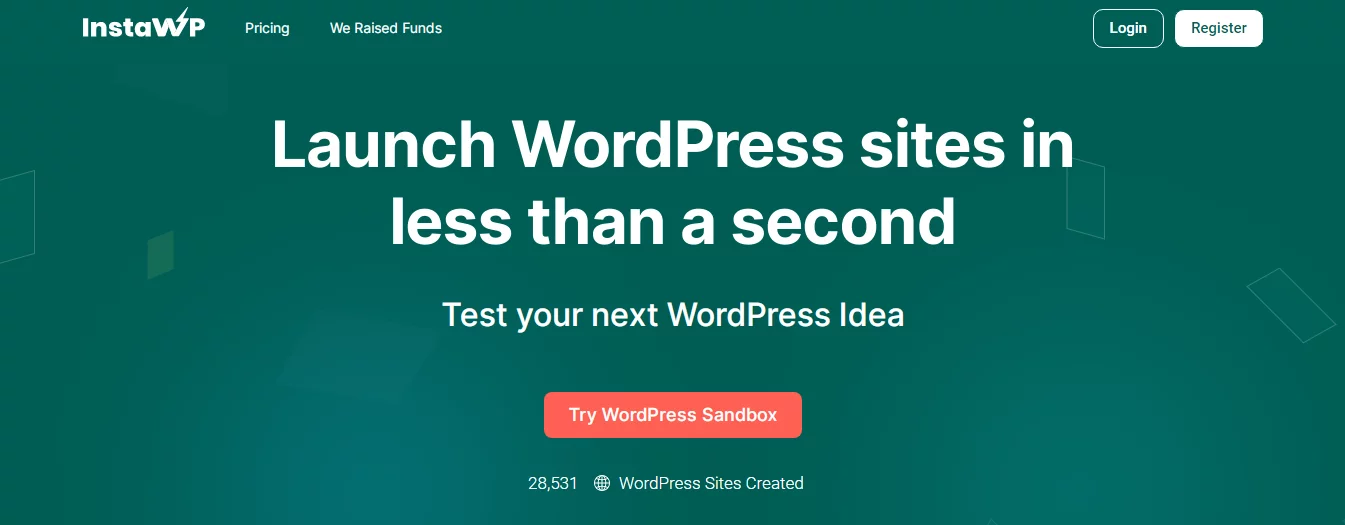
InstaWP is an amazing tool that will enable you to launch a website easily within a couple of minutes. It is created in such a way that it fits into a variety of use cases and accelerates the speed by 2x. Moreover, InstaWP is a perfect choice to create a new website to go live on any hosting platform.
This tool auto-provision and auto-installs SSL certs for all sites. Also, it has in-built tools for view logs, automatic login, database editor, and code editor. As it has the ability to launch a website
If you haven’t used InstaWP before, go through the guide to set up this amazing tool in the right way
Test a WordPress Site on InstaWP before going Live
Once you launch your website using InstaWP, you will be able to create WordPress Posts and Pages at your own convenience.
Make sure to follow the below instructions to add posts and preview them before publishing them:
Step 1: Register to InstaWP
InstaWP enables its users to get a free account so you can see the best services provided by it. Once you use the free service we are sure you will make a plan to switch to the premium one due to its awesome service. Let’s get started with InstaWP:
- First of all, got to the InstaWP homepage.
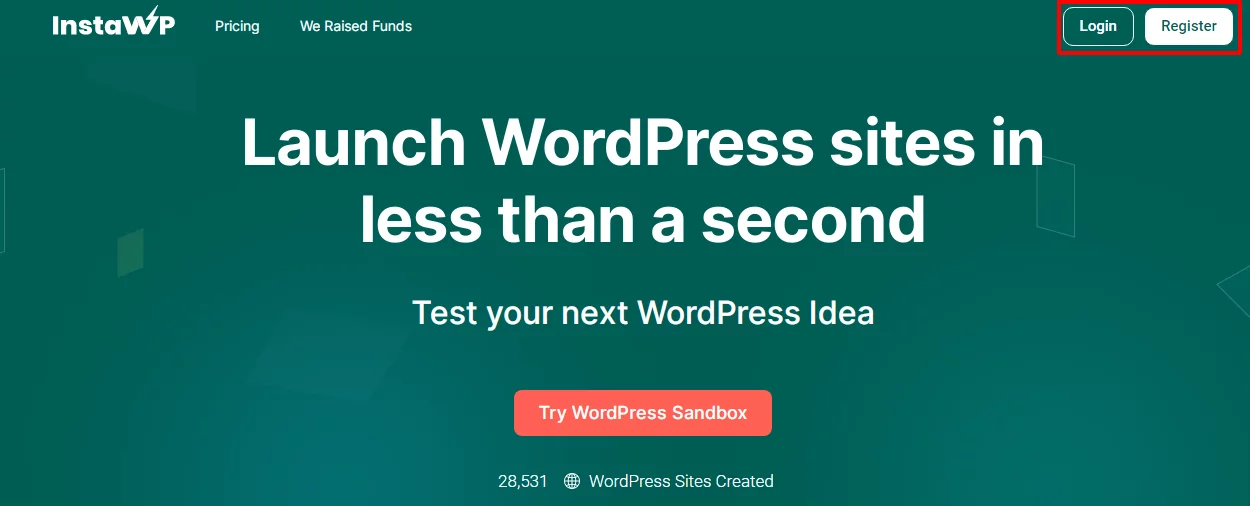
- If you have already created an account Login, if not Register first.
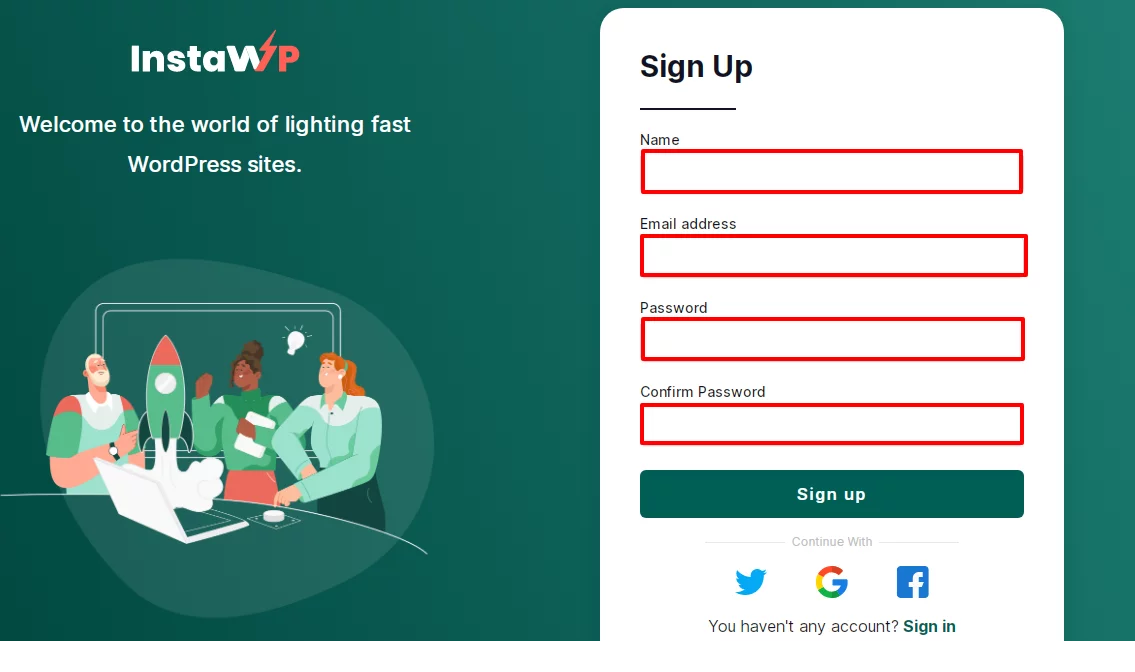
- Make sure to enter your Name, Email address and Password to Sign Up. Also, type the password one more to Confirm the Password.
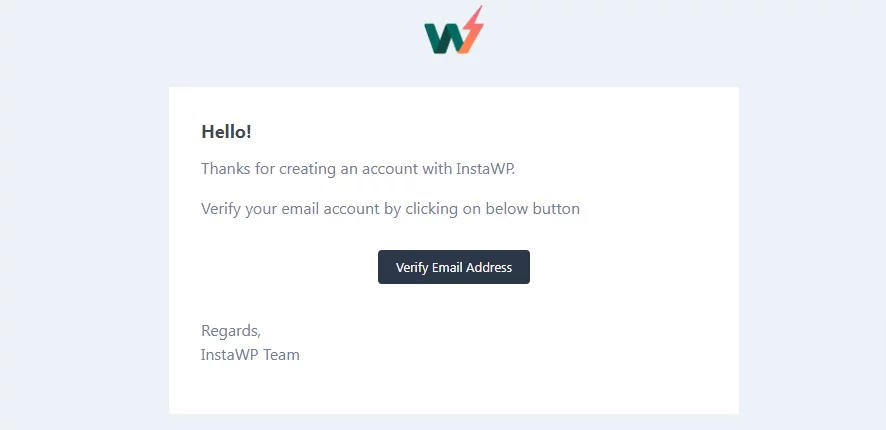
- Then you will be asked to verify your email address as shown in the screenshot below.
Step 2: Create a WordPress Site
Now, you will land on the sites page, in order to create a WordPress website make sure to follow the following steps:
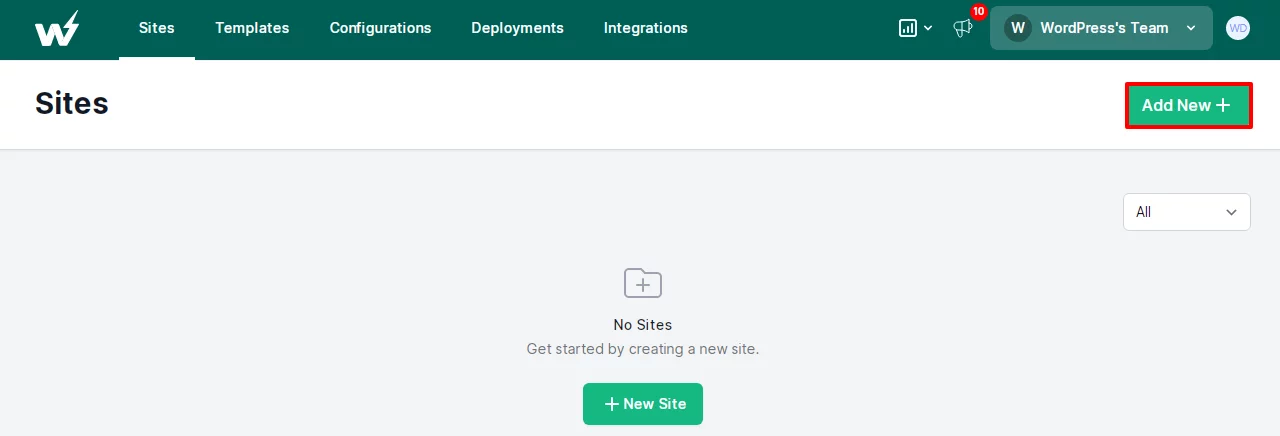
- Click on Add New button to create a New Site.
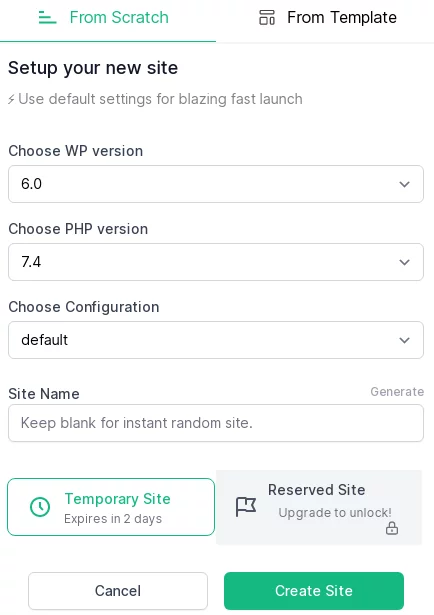
- In order, to set up your new site Choose WP version and PHP version.
- You don’t need to choose your Configuration option as it only has the default option.
- Keep your site name.
- Lastly, choose the Create Site option at the end of the page.
- If you want to use more enriched and additional features, go premium. In order to do that choose the Reserved Site button.
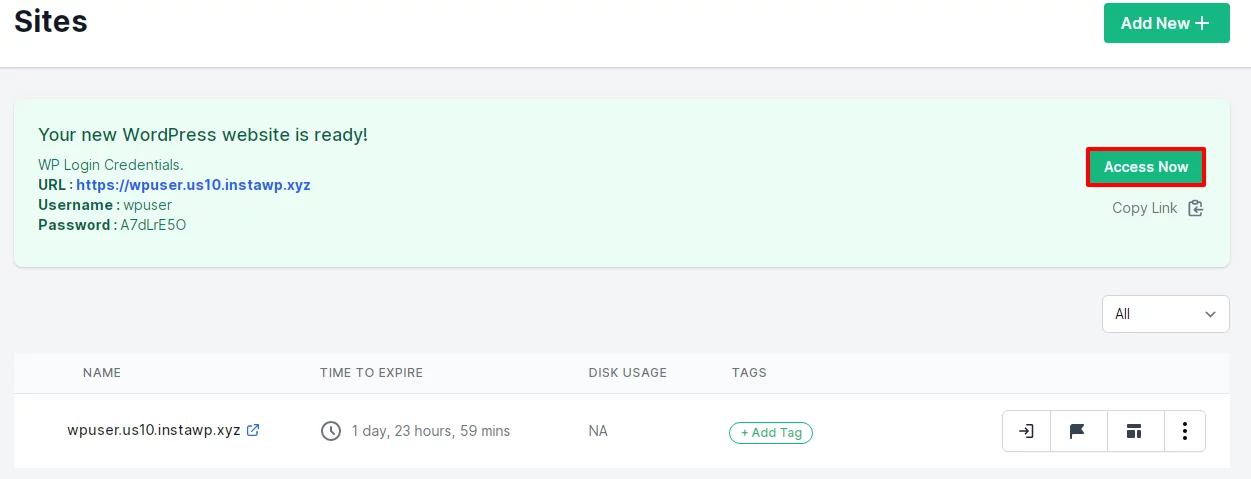
- Now, click on Access Now button to visit the Dashboard of your website
Step 3: Preview Posts and Pages Using InstaWP Website Dashboard
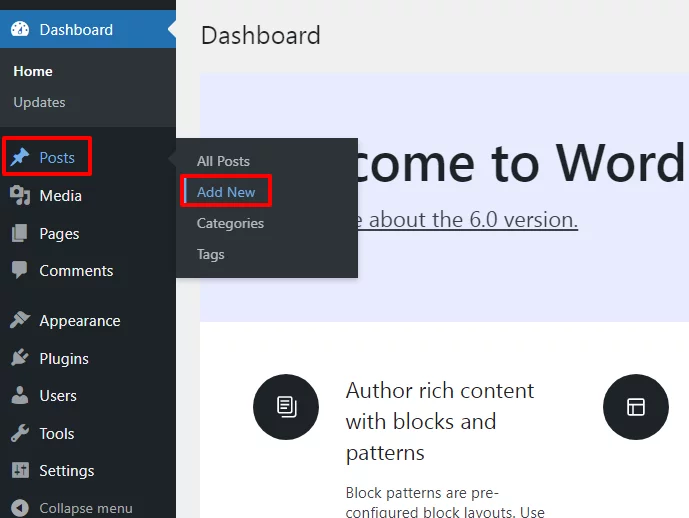
- Go to Posts>>Add New button at the left bar of the page.
- Now, make sure to add Title, content, images, and all the necessary information to the article.
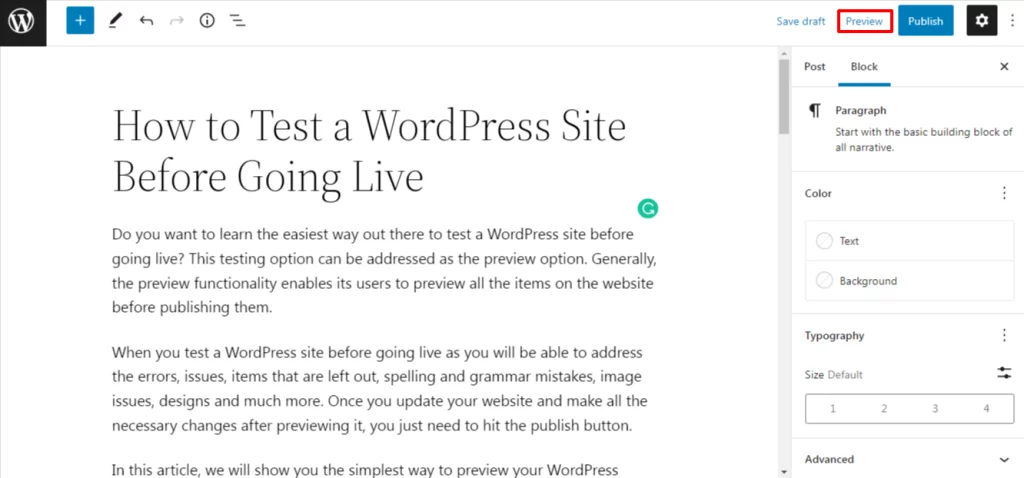
- Once you are done making the changes make sure to click on the Preview button to see how your blog/content looks on your website.
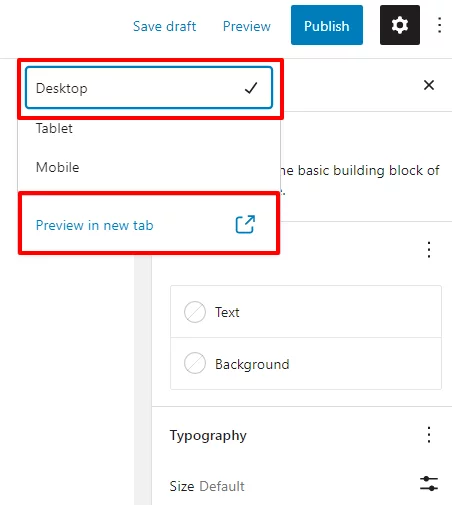
- Select the Desktop, Tablet, or Mobile option at your own convenience.
- After that click on Preview in the new tab to preview your post.
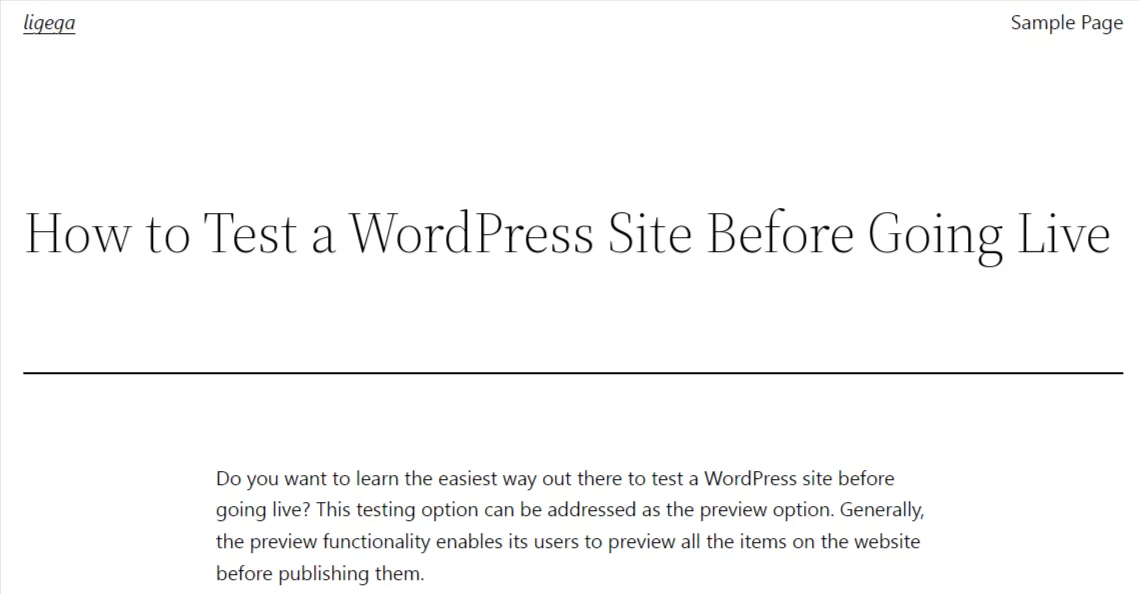
- Finally, you will be able to preview your post as shown in the screenshot below.
This is the end of our final step on an effective way to test a WordPress site before going live.
Wrapping Up:
This is the end of our article on ‘How to Test a WordPress Site Before Going Live’ We hope this procedure will make your website more organized and help you to gain visitors and customers in a massive amount.
Additionally, you can also preview widgets, and settings, and let your client preview your websites if you want to. Make sure to get InstaWP to create instant WordPress websites.
If you have any kind of confusion while following the procedure mentioned above, make sure to ask about it in the comment section below.
Also, Check-Out:
