Do you want to use and enable Expenses Addon in Projectopia? Projectopia’s Expenses Add-On is an effective Add-On that enables the project owners to add the total expenses in the Projectopia – Project Management Tool. While using the Expenses Add-On users need to make sure that they have installed Projectopia with core version 5.0.0 or higher.
Expenses Add-On enables you to add a meta box to the team member admin page that shows their expenses and a graph. You can easily see the monthly spending using this addon. Also, it will add a new data set to the income graph that shows expenses per month, so that you can see the total profit per month just at a glance.
We are sure that if you have landed in this article, you want to be able to use and enable Expenses Addon in Projectopia to manage your project in the best possible way. But, before beginning with the step-by-step guide to do so let us know about the Projectopia – Project Management Tool and Expenses Add-On in detail.
Projectopia is the number one selling WordPress Project Management Tool on CodeCanyon. This plugin has been designed to meet the requirements of Emerging Businesses and Freelancers, with critical features like Lead Generation, Clear Communication, Client Management, Preparing Quotes/Estimates, and a lot more. Its amazing functionalities and enriched features make Projectopia the preferred choice for different businesses and individuals around the World.
Projectopia offers many premium Addons to add advanced features and functionalities to your project management. One of such addons is the Expenses Add-On.
Table of Contents
Projectopia’s Expense Add-On
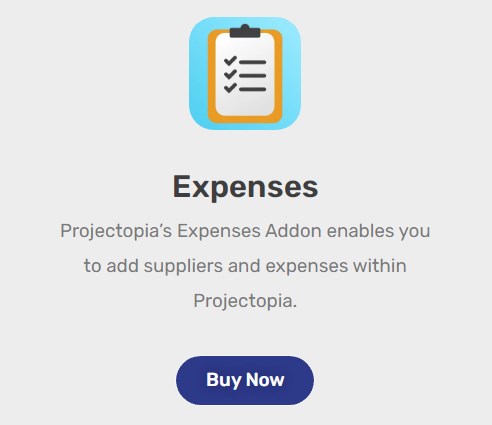
Projectopia’s Expenses Add-On is a Premium add-on for the Projectopia core plugin that enables you to add suppliers and expenses within the Projectopia. When the expenses are assigned to projects, they will be shown in new meta boxes in each project. It will display the linked expenses and also add those expenses to the project financial table to show a profit after the expense deduction.
Use and Enable Expenses Addon in Projectopia
We hope by now you guys have enough information about Projectopia Plugin, Expenses Add-On, and its uses. So without wasting any time let’s proceed further to learn the easiest way to use and enable Expenses Add-On in Projectopia.
The steps of this article are really simple and easy. So, you won’t have to face any sort of difficulties while following these simple steps. Now, without wasting any further time let’s start the step by step guide to use and enable Expenses Addon in Projectopia:
Step 1: Install and Activate Projectopia Plugin
In order to use an of Projectopia’s Add-On, you need to make sure that you have installed the Projectopia Project Management Tool on your website. If you haven’t installed the Projectopia plugin, make sure to Install it!
Get the plugin on the WordPress Repository or Official website, wherever you feel more convenient. Also, you can simply download it from the website’s dashboard.
If you are a WordPress beginner and don’t know a way to install a plugin make sure to go through our tutorial ‘How to Install a New WordPress Plugin’
Make sure to click on the Activate button after Installing the plugin.
Once you have installed and activated the plugin, you can see the Projectopia section on the left sidebar of your website’s dashboard.

This is the end of the first step to installing and activating the plugin.
Step 2: Add Expenses Add-On to Projectopia
Projectopia Plugin is totally free, but if you want to add some additional features and functionalities to make your project even more effective you purchase the premium Add-Ons.
One of the most important Add-On of Projectopia is the Expenses Add-On that will enable the users to have a detailed view of the expenses within the Projectopia plugin.
Step 2.1: Purchase the Expenses Add-On
Make sure to follow the below-mentioned steps to purchase the Expenses Add-On:
- Select Projectopia>>Add-Ons button at the left sidebar of the page.
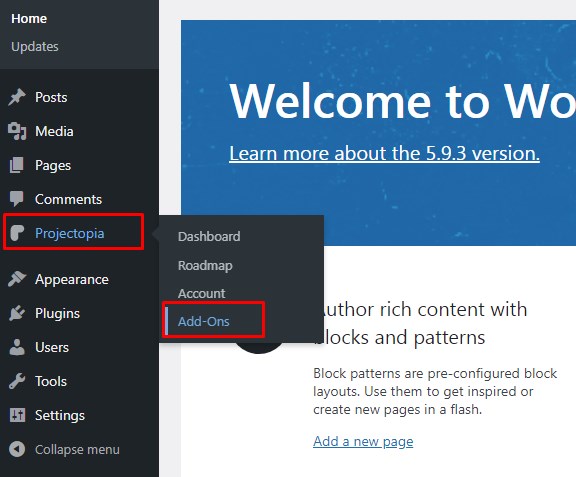
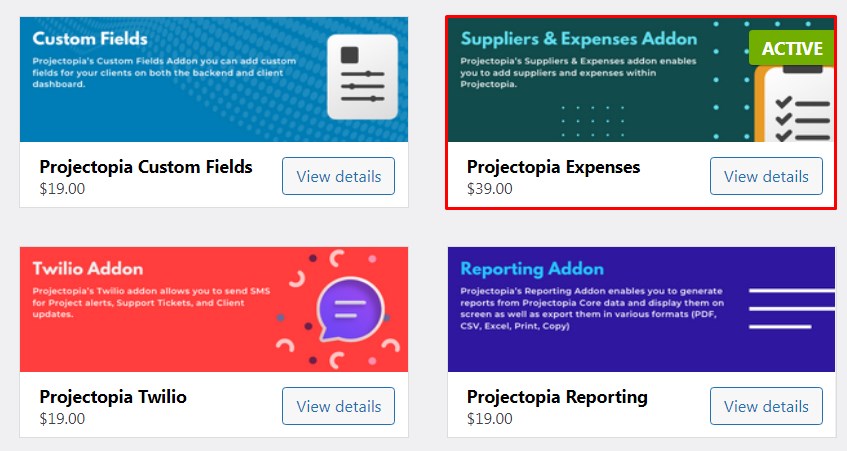
- Hover over the Projectopia Expenses.
- Then, click on the View details button.

- Expenses Add-On provides you with 3 different plans, make sure to select a plan that’s suitable for you.
- Click on the Purchase button to purchase the Add-On.
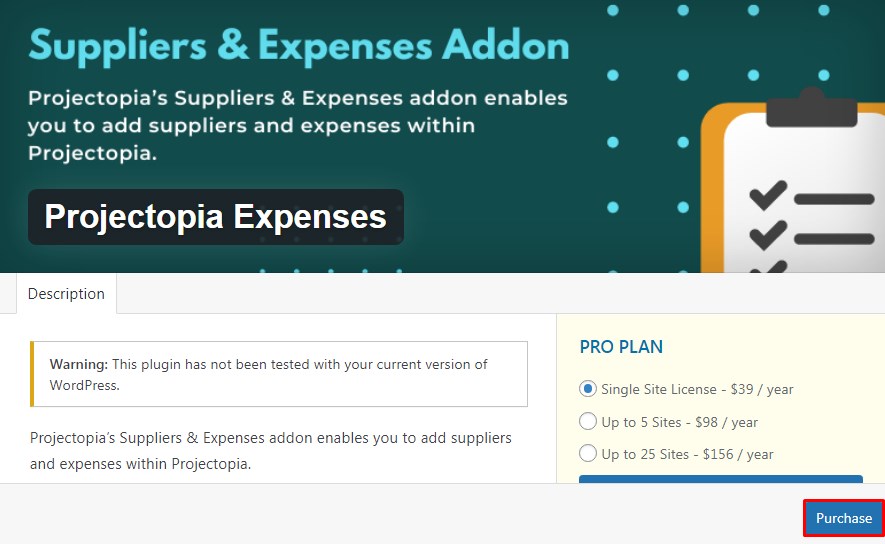
- Also, make sure to enter all the necessary details while purchasing the Add-On.
Step 2.2: Activate the Expenses Add-On
After you purchase the Expenses Add-On you’ll get the downloaded zip file of the Add-On to your personal computer. To be able to use the Expenses Addon, make sure to follow the instructions mentioned below:
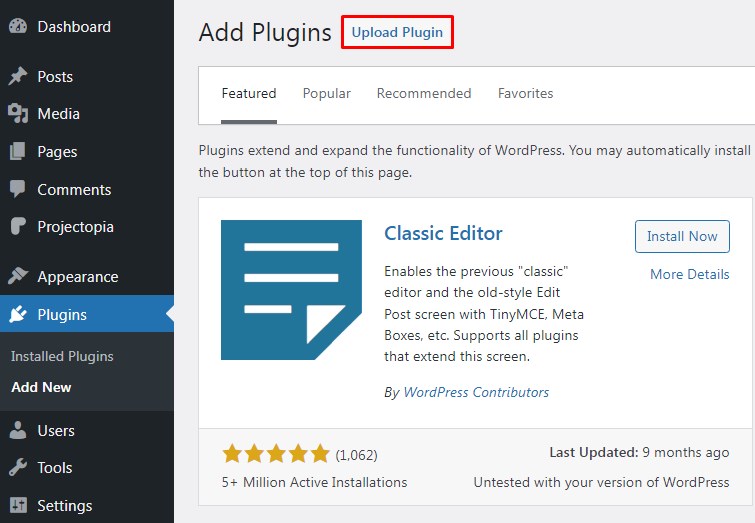
- Go to Plugins>>Add New button at the left sidebar of the page.
- Select the Upload Plugin button at the top of the page.
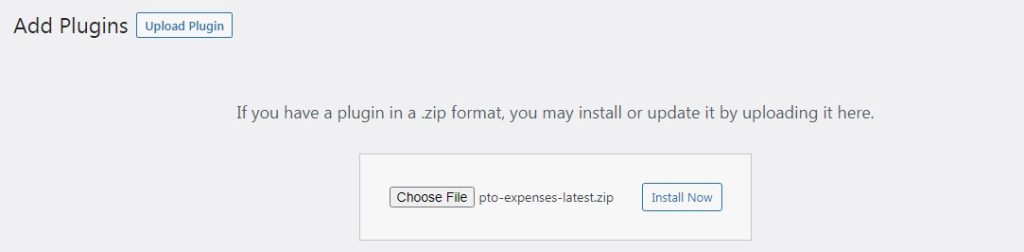
- Now, click on Choose File option.
- Once you select the Addon’s zip file click on the Install Now button.
- Click on the Activate Plugin option.
- Enter the License Key and then select Agree & Activate License.
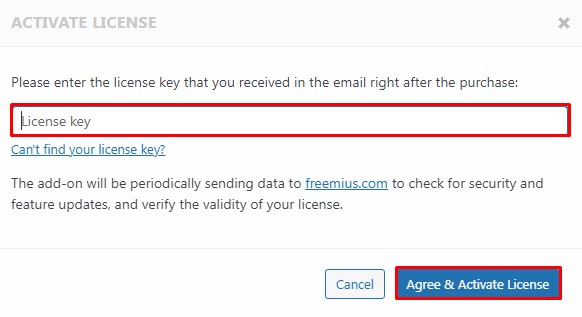
- Once you Activate the Add-On, you’ll be able to see the Active status in the Add-On.
This is the end of our second step to add Expenses Addon in Projectopia.
Step 3: Use and Enable Expenses Add-On in Projectopia
In order to configure the Expenses Add-On makes sure to follow the following steps:
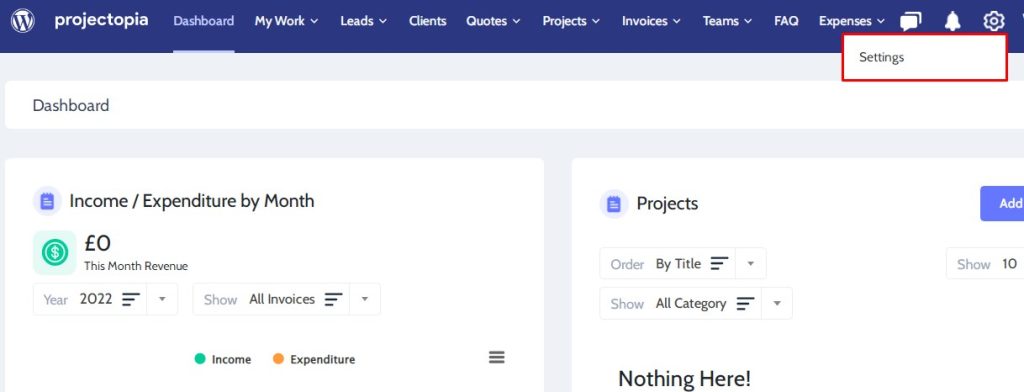
- Go to Projectopia’s Settings option at the top of the page.
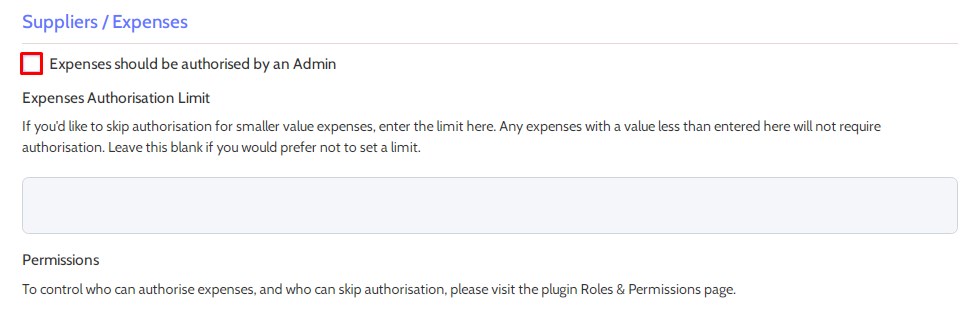
- Then click on the Suppliers/Expenses tab.
- Tick next to Expenses should be authorised by an Admin option if you want to enable the expense admin authorisation feature. This feature enables you to require admin authorisation for expenses raised by team members and to set a value limit on expenses that require authorisation.
Step 4: Set Up the Permission Matrix
You need to Install and Activate Roles & Permission Add-On in order, to begin with, this step. Install and Activate Roles & Permission Add-On exactly as we installed Expenses Addon in the aforementioned steps.
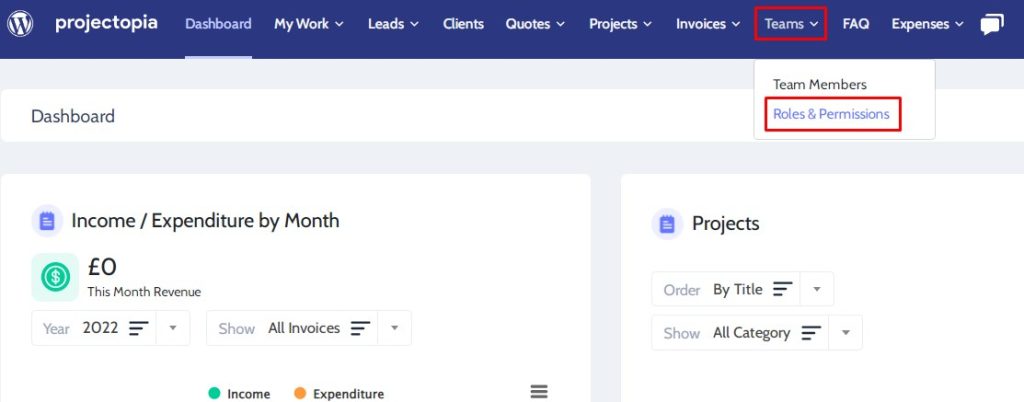
- The permissions matrix for Suppliers and Expenses will be added to the Roles & Permissions table within Projectopia
- In order to visit there, go to Teams>>Roles & Permissions.
This is the end of our fourth step to use and enable Expenses Addon in Projectopia
Step 5: Makes Changes in Supplier Details
In order to add new suppliers, you need to follow the following steps:
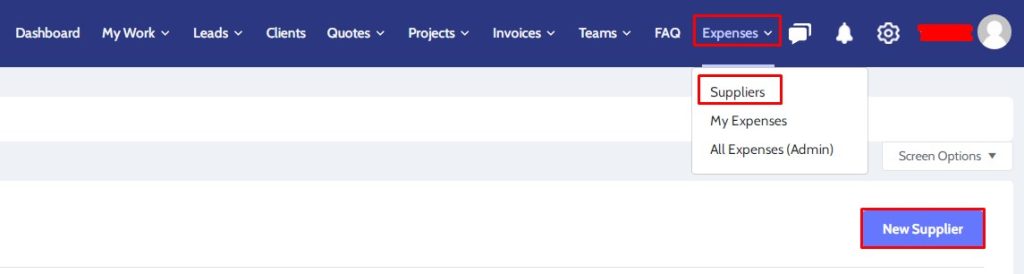
- Click on the Expenses>>Suppliers option at the top of the page.
- Then select the New Suppliers option.
- Add the Supplier’s Name, ID, Address, Contact Name, Email, and Telephone.
- Once you make all the necessary changes click on the Update Supplier button.
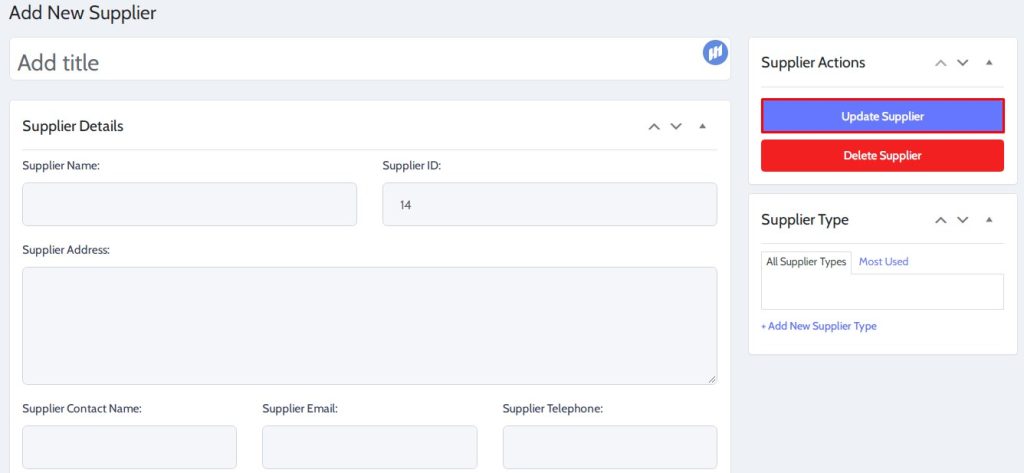
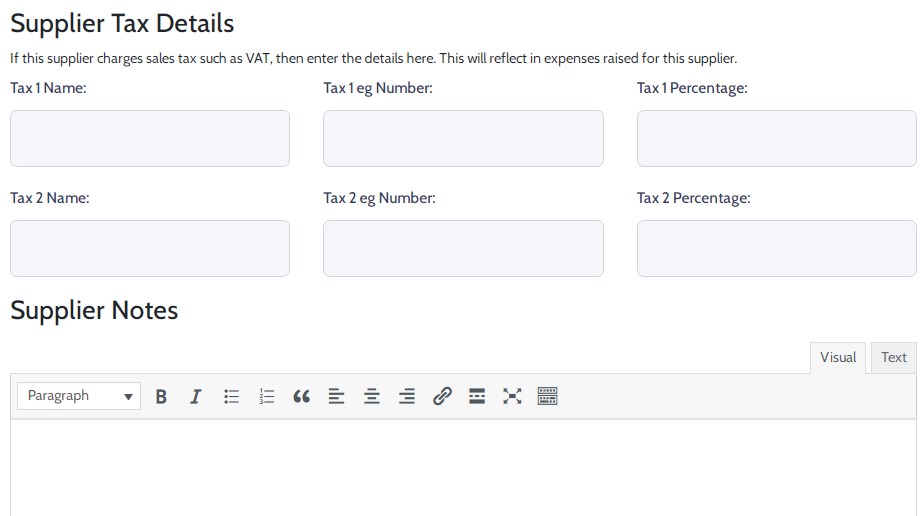
- Suppliers generally charge Sales Tax. So, make sure to enter the details in the Supplier Tax Details.
- You can also add Supplier Notes if you want to.
The expenses added to the supplier will be shown on the admin page with a graph to illustrate monthly spending totals. After making changes in the Supplier’s setup, you can proceed forward to add the expenses.
Step 6: Make Changes in My Expenses
Expenses section consists of two different pages. My Expenses section shows the expenses that are raised by the user who has currently logged in.
Make sure to follow the below-mentioned steps:
- Go to Expenses>>My Expenses at the top of the page.
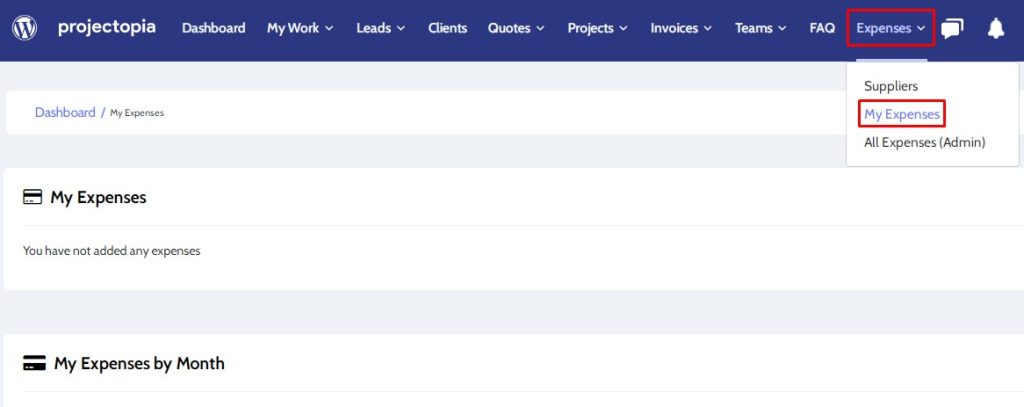
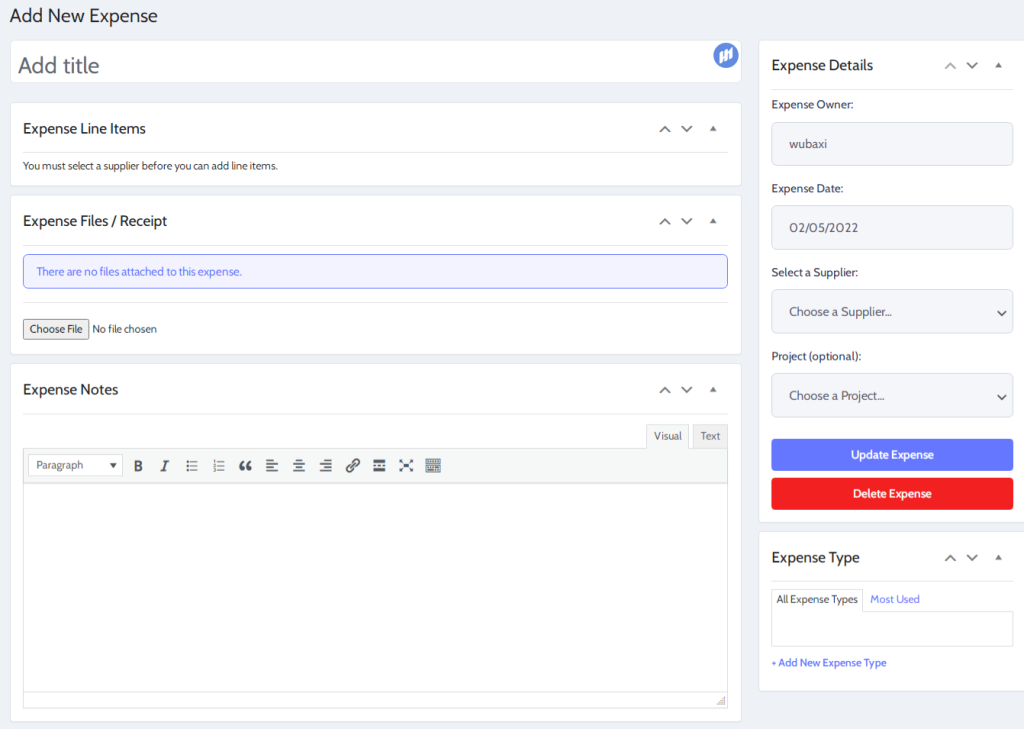
- Select the Add Expense button on the My Expenses option.
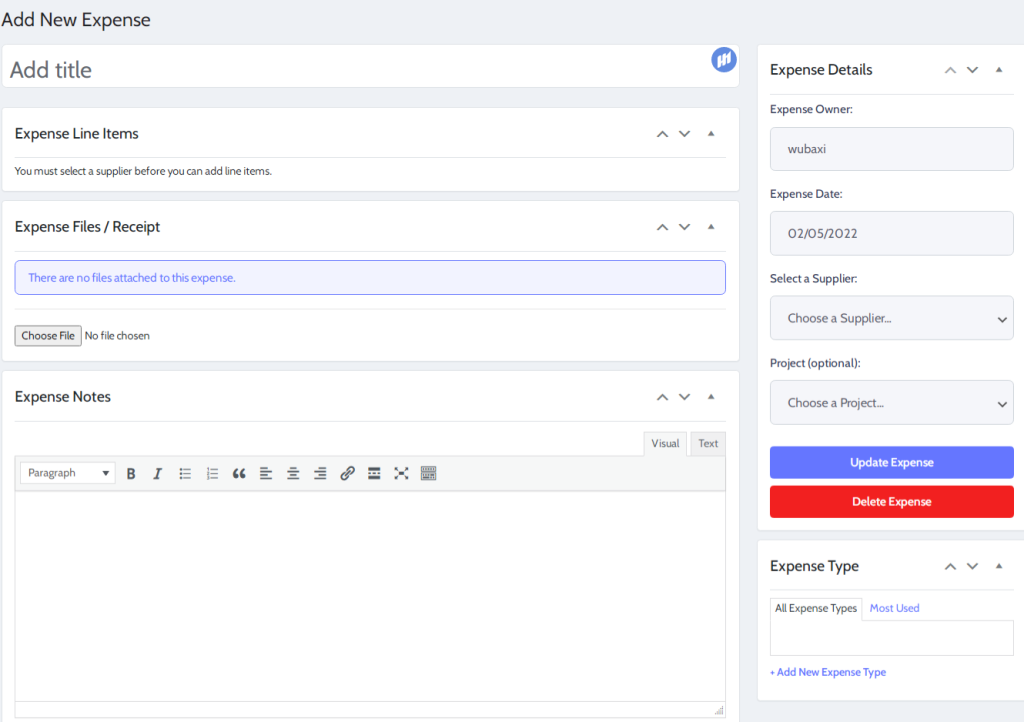
- Add title on the Add New Expense page.
- Select the Choose File option if you want to upload any file on the Expense Files/Receipt option. Also, write Expense Notes if you want to.
- Make sure to write Expense Owner and Expense Date on the Expense Details option.
- Select a Supplier and Project as per your own wish
- After you make all the changes, make sure to click on the Update Expense option.
This is the end of our sixth step to use and enable Expenses Addon in Projectopia.
Step 7: Make Changes in All Expenses(Admin)
This section is available to all the users who are granted permission to view it. This page shows all the expenses.
Make sure to follow the following steps:
- Go to Expenses>>All Expenses (Admin) at the top of the page.
- Then go to Add Expense option.
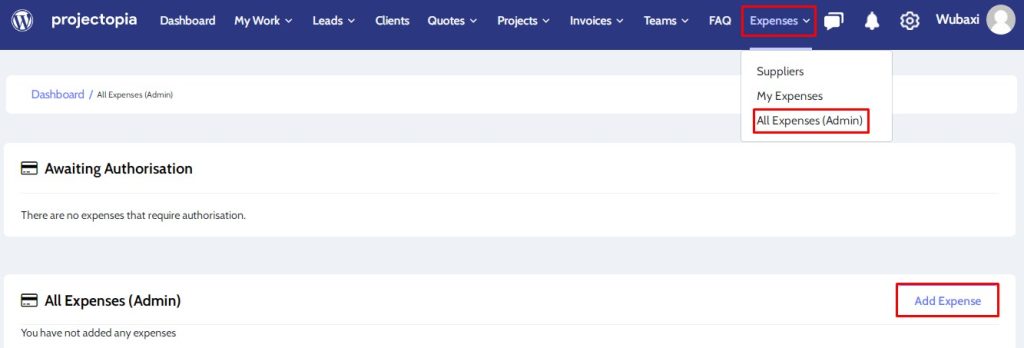
- Make all the necessary changes on this page as exactly in the My Expenses page.
Step 8: Get the Authorisation
Expenses Add-On has a feature that requires team members to request admin authorisation on expenses. When this feature is activated, the user who raises the expense can prompt to request authorisation.
You can send an email to any user who has permissions set to be able to authorise expenses. Also, it will provide a link for them to view the expense and authorise/decline it.
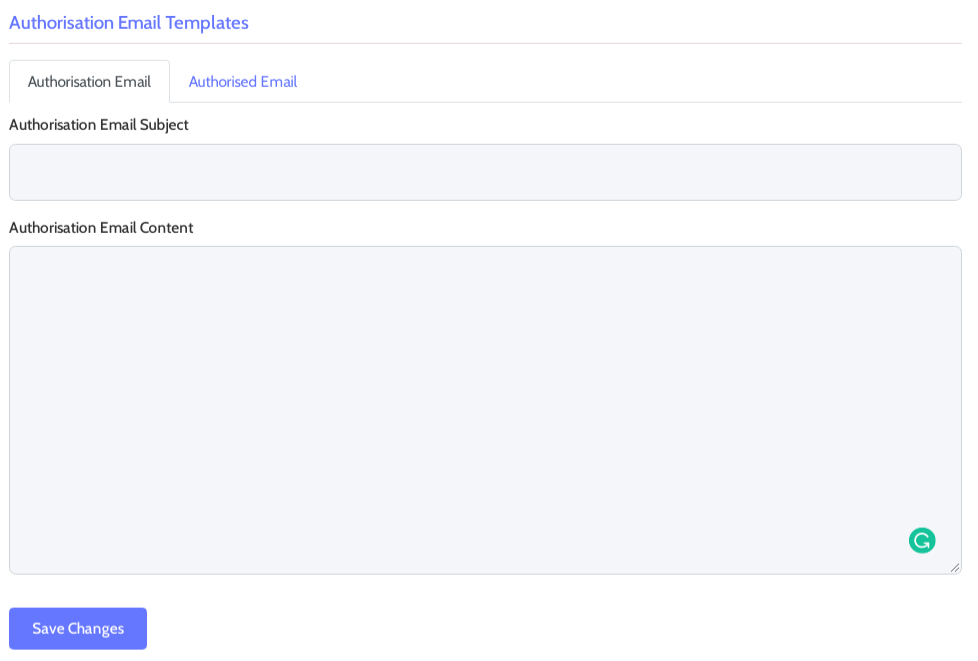
Authorisation Email Templates have two different pages for Authorisation Email and Authorised Email.
- In the Authorisation Email make sure to enter the Authorisation Email Subject and Authorisation Email Content.
- After making all the changes click on the Save Changes button.
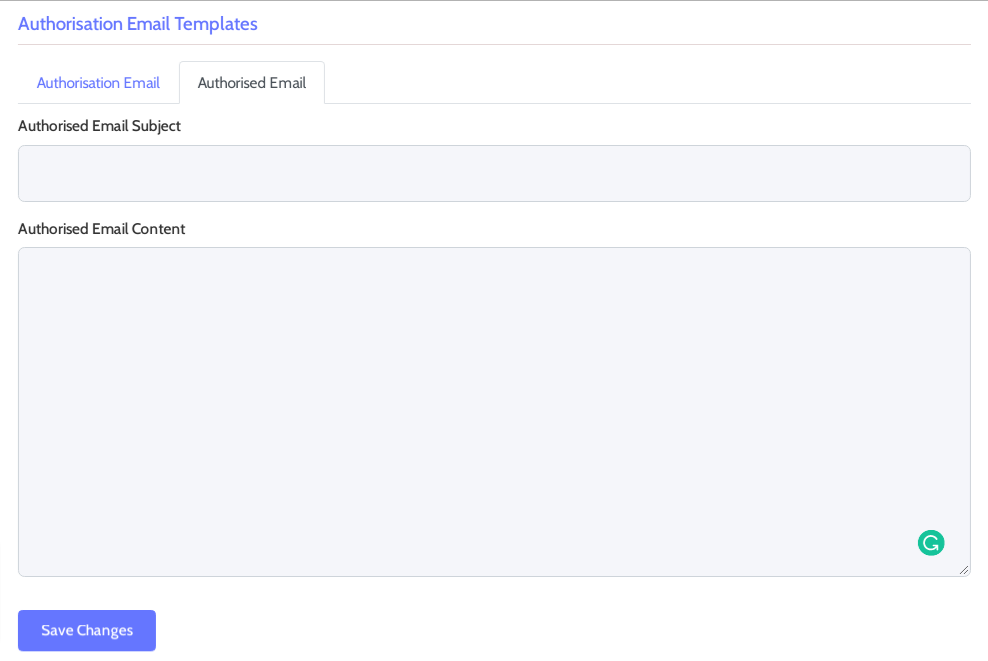
- Similarly, in the Authorised Email make sure to enter the Authorisation Email Subject and Authorisation Email Content.
- After making all the changes click on the Save Changes button.
Wrapping Up
This is the end of our tutorial guide on ‘How to Use and Enable Expenses Addon in Projectopia’ Expenses Addon is an amazing premium addon of Projectopia that enables you to add suppliers and expenses in Projectopia without any kind of hassle.
Also, you can get all the premium Projectopia Addons collections to make your project even more systematic. This bundle provides you with Projectopia Kaban Board Add-On, Projectopia Roles & Permissions Add-On, Projefctopia Support Tickets Add-On, Projectopia Time Entries Add-On, Projectopia 2Checkout Add-On, Projectopia Subscriptions Add-On, Projectopia Bug Tracker Add-On, Projectopia WooCommerce Add-On, Projectopia Custom Fields Add-On, Projectopia Expenses Add-On, Projectopia Twilio Add-On, and Projectoia Reporting Add-On.
If you can’t follow or don’t understand any of these steps to use and enable Expenses Addon in Projectopiamake sure to let me know about it in the comments section below. We would be happy to help you throughout. Also, do let us know what you think of this tutorial guide and the Expenses Add-On.
Also, Check-Out: