To create a new subscription for a client, head to the Subscriptions Dashboard in Projectopia and click the “Add Subscription” button at the top of the page.
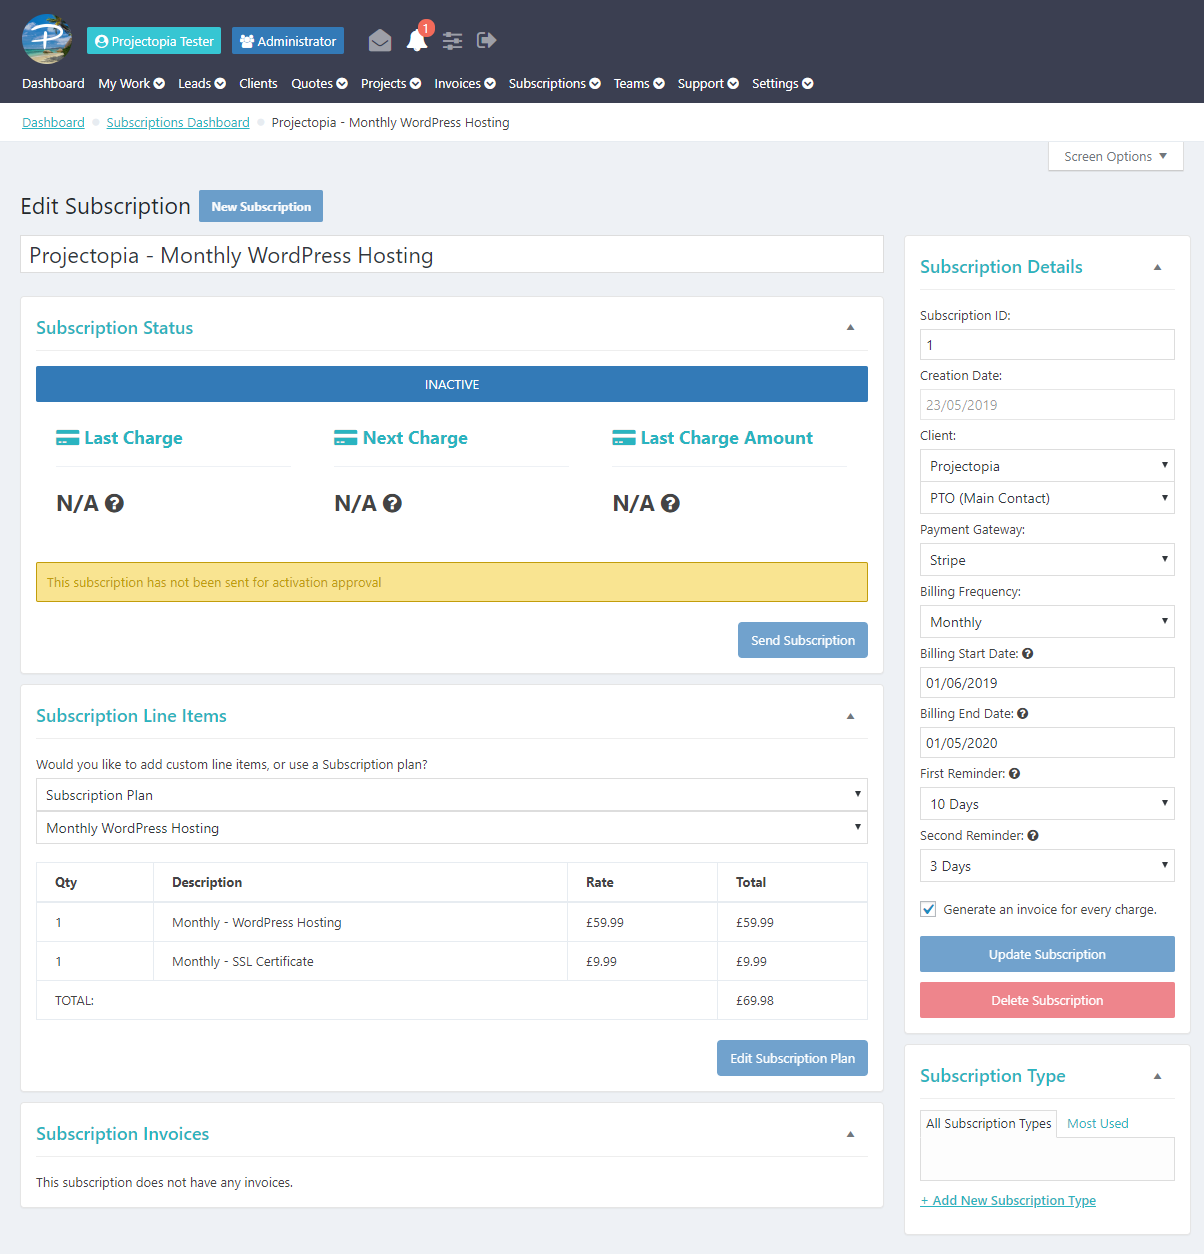
Firstly, give you subscription a title, and then configure the subscription using the fields in the right sidebar.
- Client & Client Contact – These are used to select which client the subscription is for, and which of the contacts at the client organisation it should be sent to (if you have multiple contacts, see Client Contacts for more information)
- Payment Gateway – The payment gateway used to bill the subscription. The current options are PayPal and Stripe (these need to be configured on the API / External Services tab in the plugin settings)
- Billing Frequency – How often this subscription should be billed.
- Billing Start Date – The date that the subscription should start billing on once it has been activated. If you enter leave this blank or enter a date in the past then it will bill immediately on activation and then calculate the next billing date based on the frequency)
- Billing End Date – The date that the subscription should stop billing. Leave this blank to bill indefinitely.
- First and Second Reminders – You can optionally choose to send two reminders in the days leading up to a charge to remind your client that the billing schedule is approaching.
- Generate Invoice – When a subscription charge happens you can choose whether or not an invoice should be created. If this is activated, an invoice will be create for each charge and marked as paid once the charge succeeds.
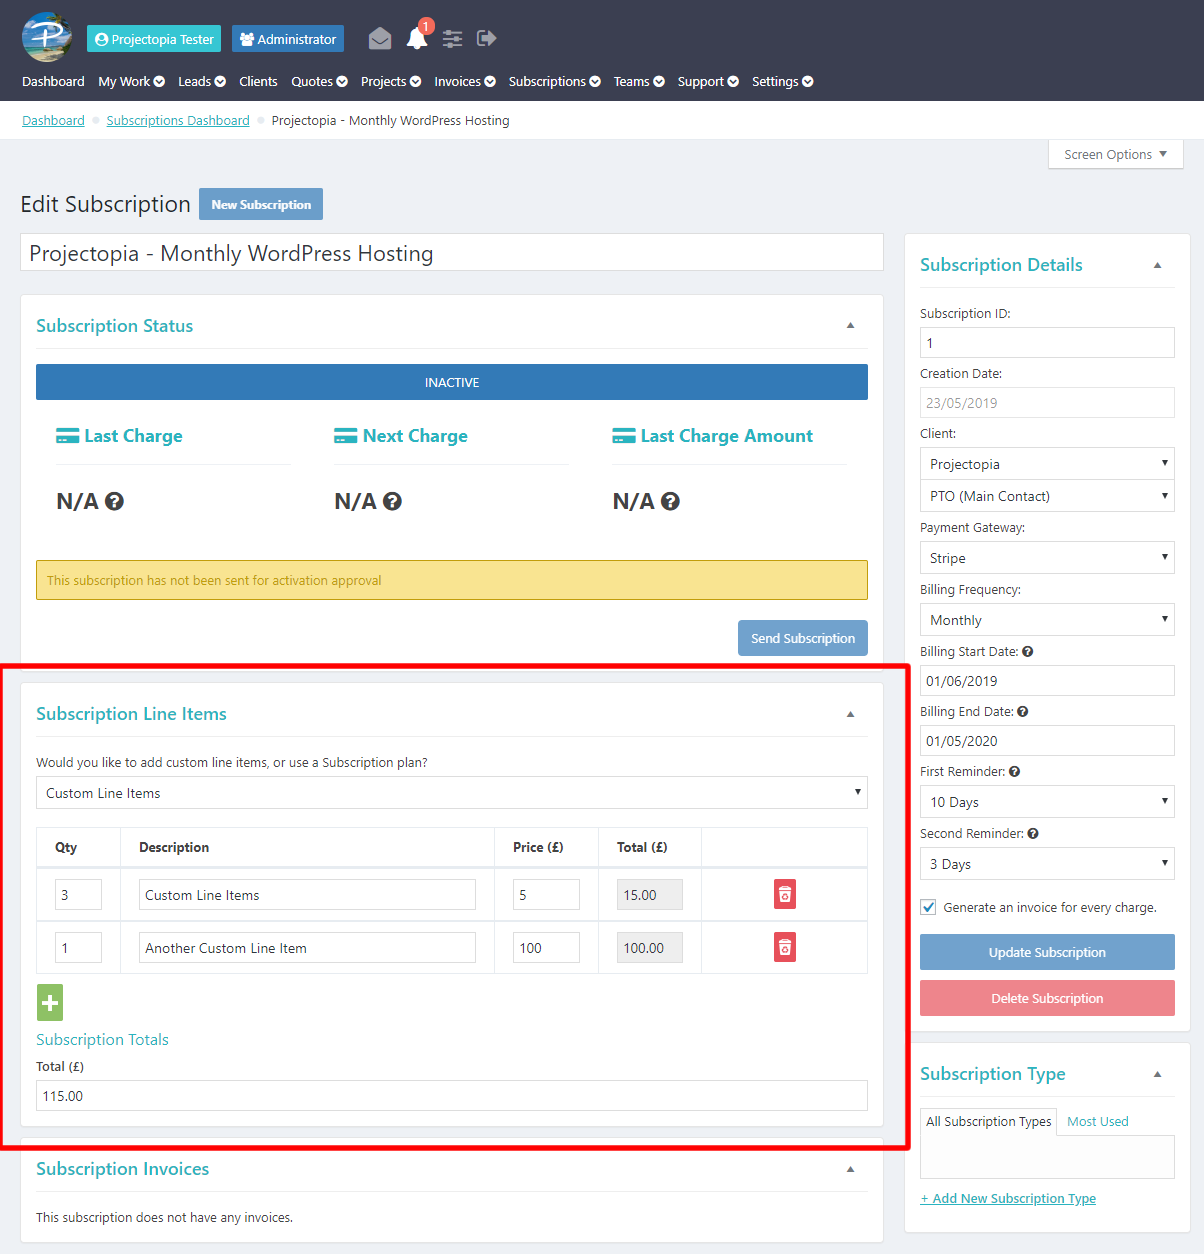
You also need to set whether this subscription will use an existing plan or custom line items. You can set this in the Subscription Line Items box.
Once you’re done, click Update Subscription to save the details.
Subscription Plans or Custom Line Items?
When you create a subscription you can choose to either use an existing subscription plan, or instead use custom line items (a bit like an invoice)
The benefit of using a subscription plan is that if you edit the plan it will reflect in all subscriptions that are using the plan, however on some occasions you may need to have a “one off” or custom plan.
To use Custom Line Items on a subscription, simply select this in the Subscription Line Items box and update the subscription. You can then add your own line items.
Sending a Subscription
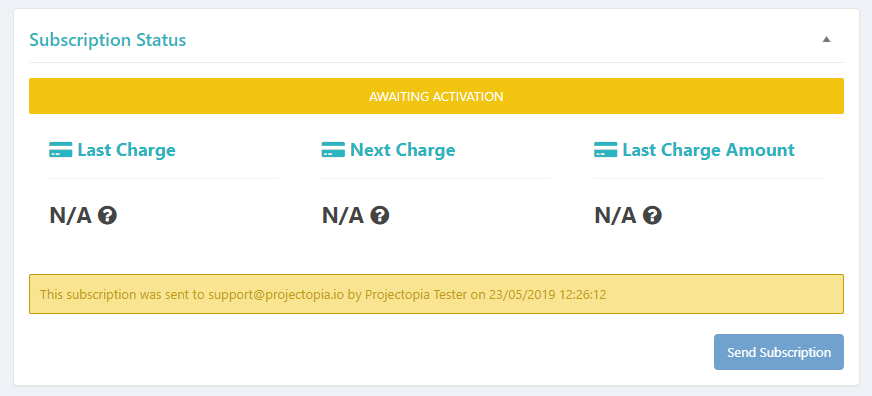
Now that you’ve got your subscription set up, you need to send it to your client. This process will send your client an email with details of the subscription and inform them that it needs to be activated by logging in to their dashboard.
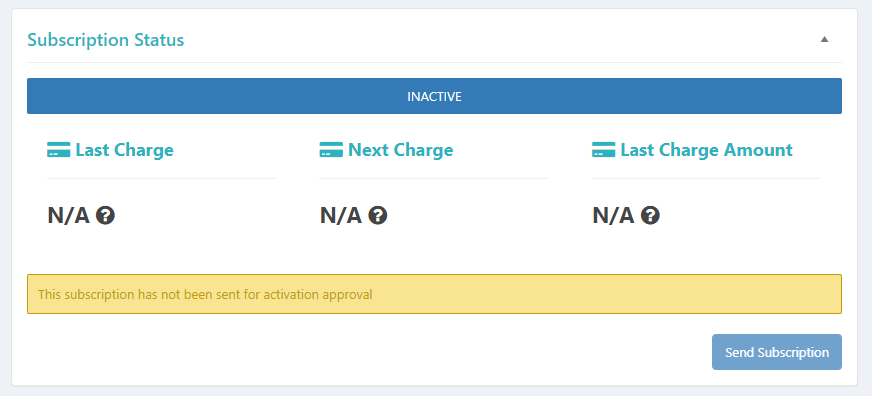
To send the subscription to your client, click the “Send Subscription” button in the Subscription Status box.