The Client Contacts feature allows you (or a client with the correct permissions) to add extra users to their account, meaning that more than one person at their organisation is able to log into their dashboard and take part in projects. This is useful when working with larger clients who may have their own teams who need to collaborate on the project too.
There are two ways that client contacts can be added, by an admin (or team member with the relevant permissions), or by the client themselves if you allow them to use this feature. Read on for information on both methods.
Adding Client Contacts as Admin
To add a client contact as an admin, navigate to the admin page for the client that you want to add a contact to. You’ll see various metaboxes (Explanations of all of these metaboxes can be found at Client Admin & Metaboxes if you want to know more about the others).
The one we want to focus on is called “Client Contacts” and it looks like this –
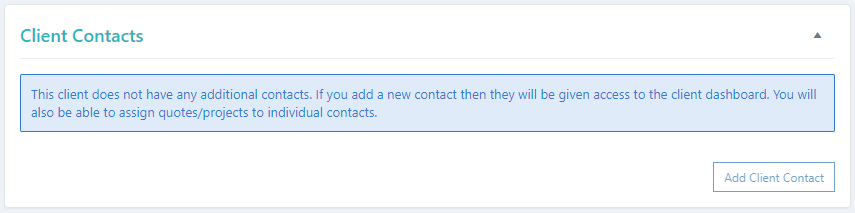
To add a contact, click the Add Client Contact button, which will brig up a lightbox for you to enter the details of the client contact.
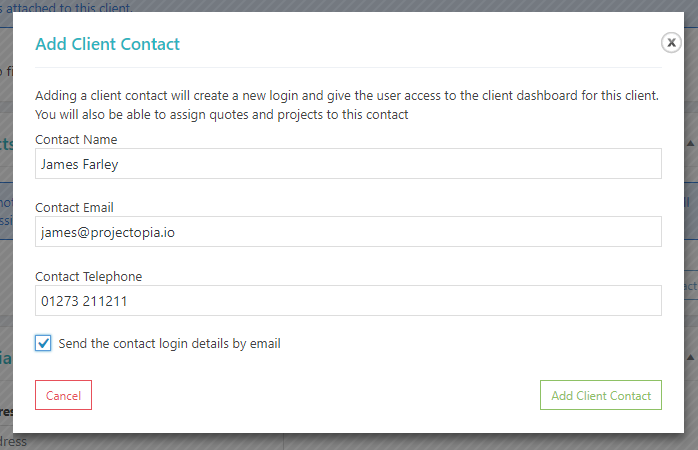
Enter the details of the client contact. As with all WordPress users, the email address must be unique, so you wont be able to add existing users as client contacts (which shouldn’t be an issue as they are not likely to be in the system already). Choose whether or not you want to send a welcome email to the contact when it is created, and click Add Client Contact.
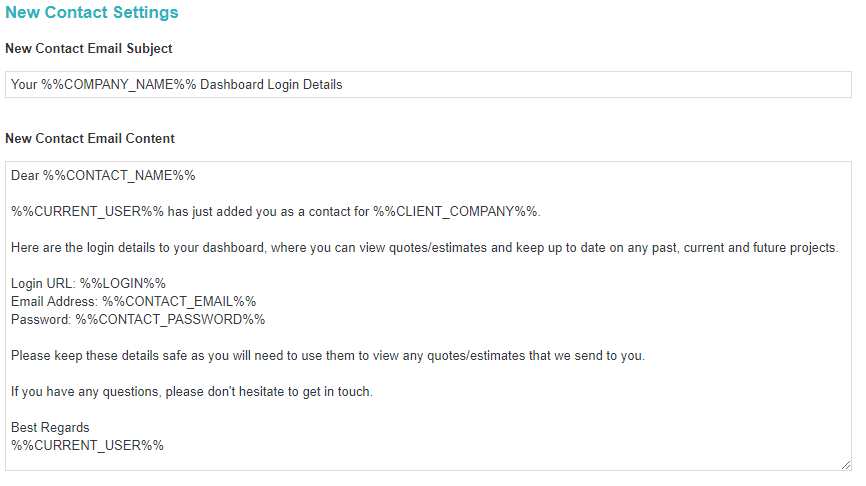
If selected, the new contact with now receive an email with their login details. The template for this email can be found in the Projectopia settings under the Clients tab.
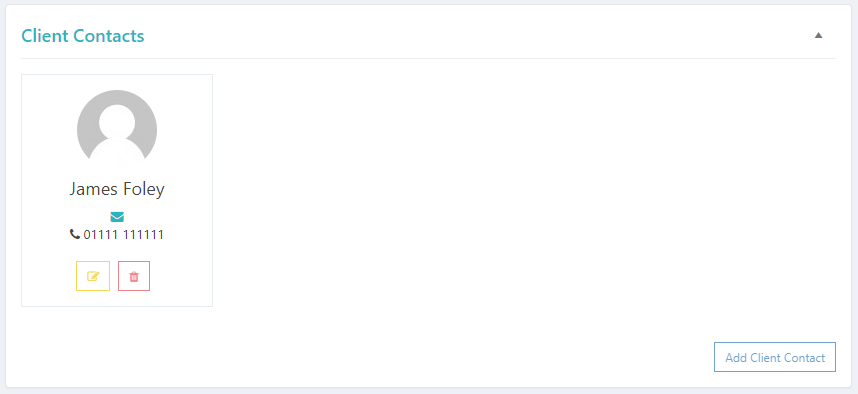
Now that the contact has been added, they will be able to log in to the dashboard of that client using the details that they received by email. The Client Contacts metabox will now look like this, and the contact can be edited and/or deleted from this screen –
Adding Client Contacts in the Client Dashboard (as a client)
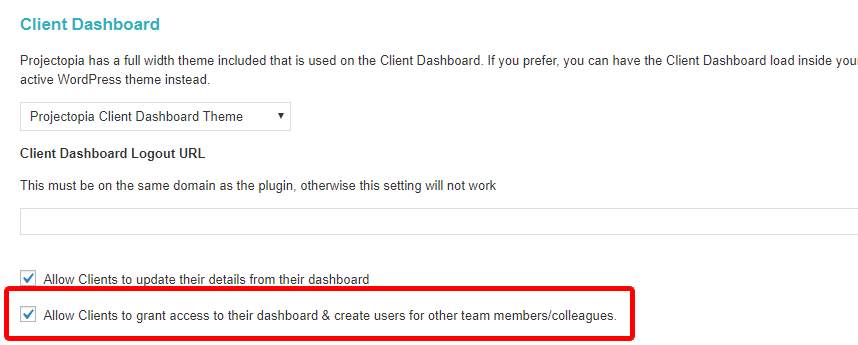
If you want clients to be able to add and manage their own contacts from their organisation then you need to activate this feature for them. The setting for this is in the plugin settings under the Client Dashboard tab.
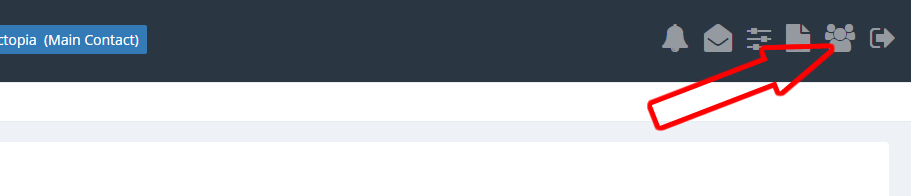
Once this feature has been activated, the client dashboard will show a new “Contacts” icon on the top right header menu.
Clicking this icon will bring the client to the “Client Contacts” page in the dashboard. As you can see, the contact that we added via the admin panel earlier in this article is there too.
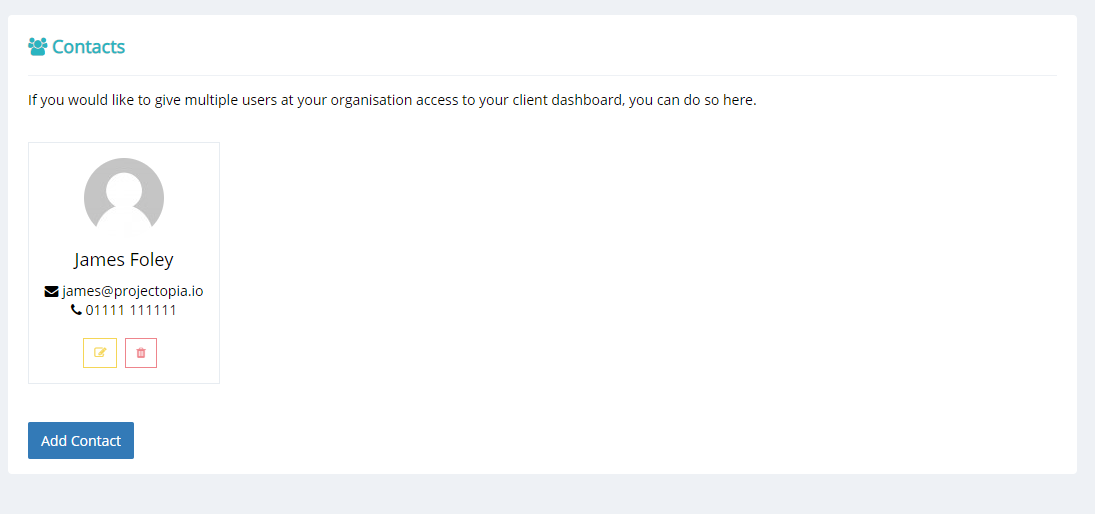
As with the admin method described earlier in this article, the client is able to add / edit and delete contacts in the same way as admins can.
TIP: When a client contact is deleted from the system, their user account is also removed, and they will be immediately locked out.