
Are you a beginner in WordPress and thinking about how you can set up a WordPress staging site or get a self-hosted WordPress Sandbox free? Then in this blog, we are going to guide all you beginners on how you can set up a WordPress staging site.
But before that, you might be curious as to what a Staging Site or WordPress Sandbox is. Also, how you can get a self-hosted WordPress sandbox to try all the plugins, themes, and updates without affecting the live website.
Don’t worry! We have got all the answers for you to understand, in this beginner’s guide. Read more.
Table of Contents
What is a Staging Site/Wordpress Sandbox
To put it straightforwardly, a staging site or a WordPress sandbox is the same term used to describe an isolated testing environment that enables users to test a site (WordPress site) without affecting the live website.
In simpler words, it is a copy of your live WordPress site which is used for testing changes (in a private environment), removing errors, or fixing bugs. Developers mostly prefer making a temporary WordPress site before going live so that there are no cases of WordPress sites (or general website) breakdown.
The best part of WordPress staging is that you can create it for free. Want to know how? Here’s how.
How to Create a Test WordPress Website
The process to create a test website WordPress is easy and fast especially with the help of InstaWP.
InstaWP is a free service that provides a portable WordPress development environment that allows you to set up a WordPress staging site. The WordPress staging site created from InstaWP is like any other self-hosted WordPress website which gives you full control over your WordPress test site.
(Self-hosted WordPress means being responsible for everything that goes on the WordPress site but with the help of a hosting service that hosts or provides a platform to your site on the internet.)
To build your WordPress staging site with InstaWP all you have to do first is, go to the instawp.io website. After that the process is simple:
1. Visit InstaWP
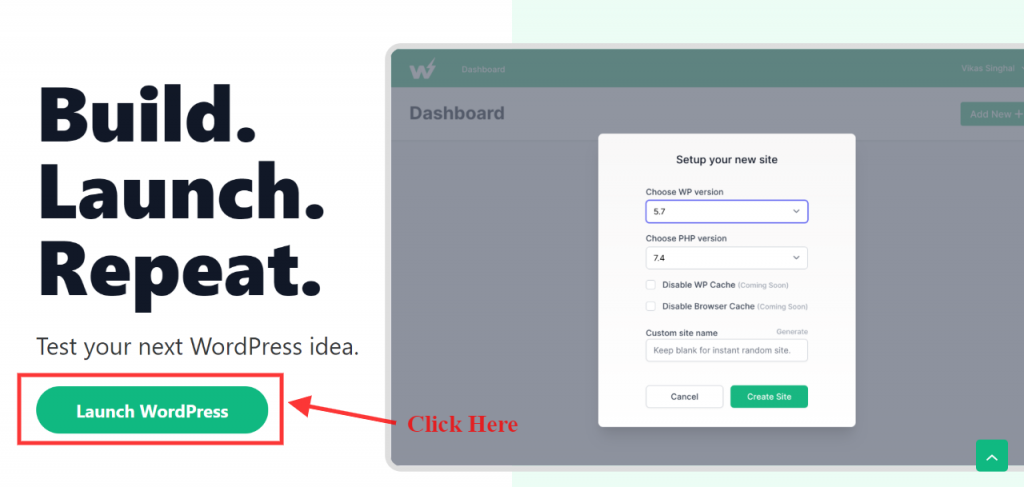
The first step after visiting the instawp page is to click on the “Launch WordPress” button (seen in the above picture) on the homepage.
2. Create a test site
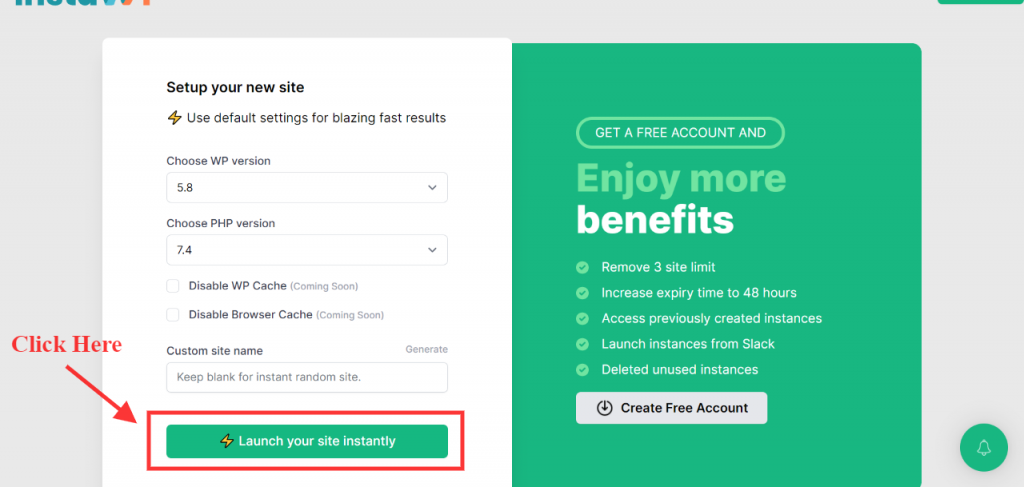
The next step is to configure the settings, you can directly use the default settings for faster results. However, if you want to experiment more, then you can customize your WordPress install. By choosing from the different WP and PHP versions, you can also customize the website name in the “Custom site name” box. After you have configured the settings, click on the “Launch your site instantly” and set up your new site. It will take a few seconds for WordPress to install.
3. Navigate to your new site
After your WordPress installation is done, the WordPress site will be ready with login credentials like URL, Username, and Password.
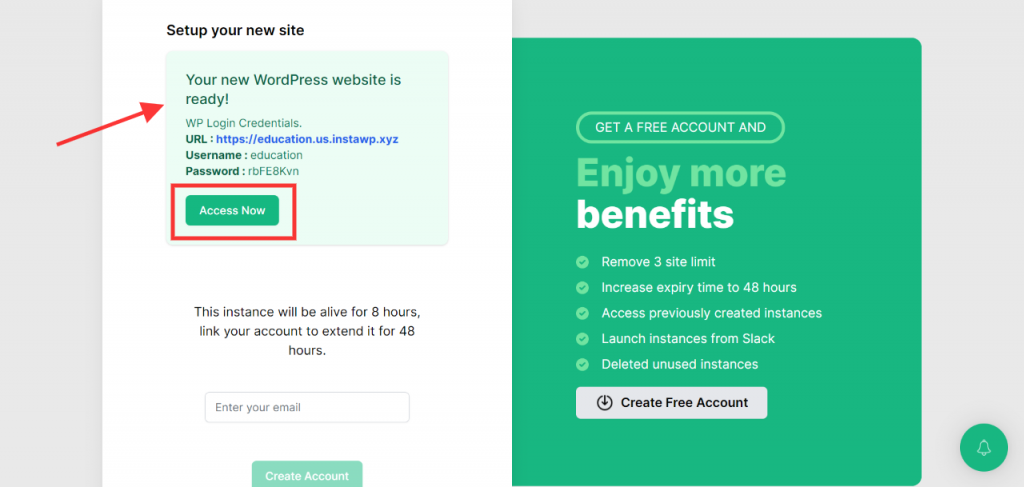
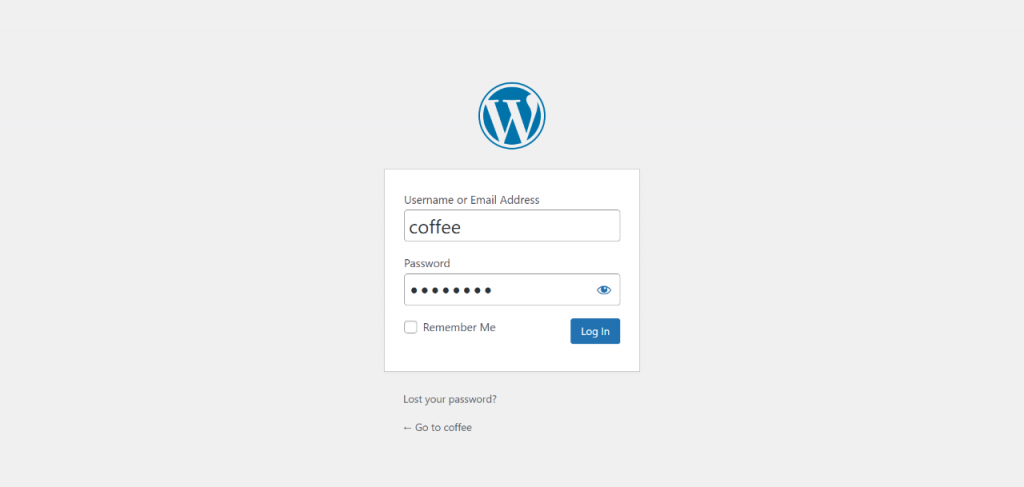
Click on the Access button or URL provided and it will directly lead you to the login page. Fill it with the log-in credentials mentioned previously and click on the Log-in option to go to the WordPress dashboard.
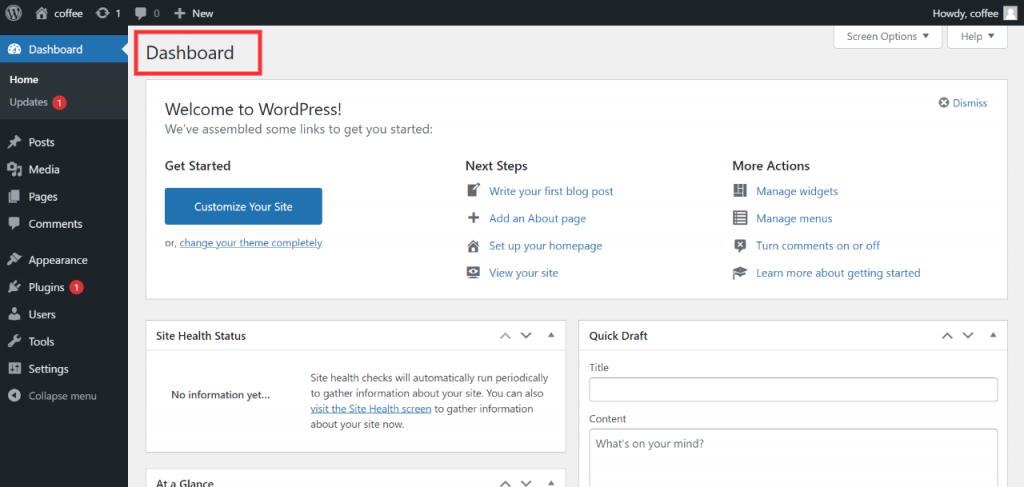
4. WordPress Dashboard
You will now be able to work on your temporary WordPress site, you can customize your WordPress from the “Customize your site” option. The website has many themes, plugins you can work on or experiment with further. There are different tools you can install for your WordPress site and as per your need, you can further configure settings.
However, the instance will be alive for 8hours, after that the link through which you have log in will expire.
So to extend your account for 48 hours, you can either enter an email id and click on “Create Account” (as shown in the 3rd picture). Otherwise, go to the “Create Free Account” option (on the right side), then register your details and verify your email.
5. Manage Instawp Dashboard
As now your InstaWP account is created your account WordPress staging site will be extended up to 48hours. Once you’re done with login into your InstaWP account, click on the “New Site” [Free version of InstaWP allows you to create 3 temporary WordPress sites.]
It will open to a WordPress instance in your dashboard, which includes the name of the site, versions, and other details.
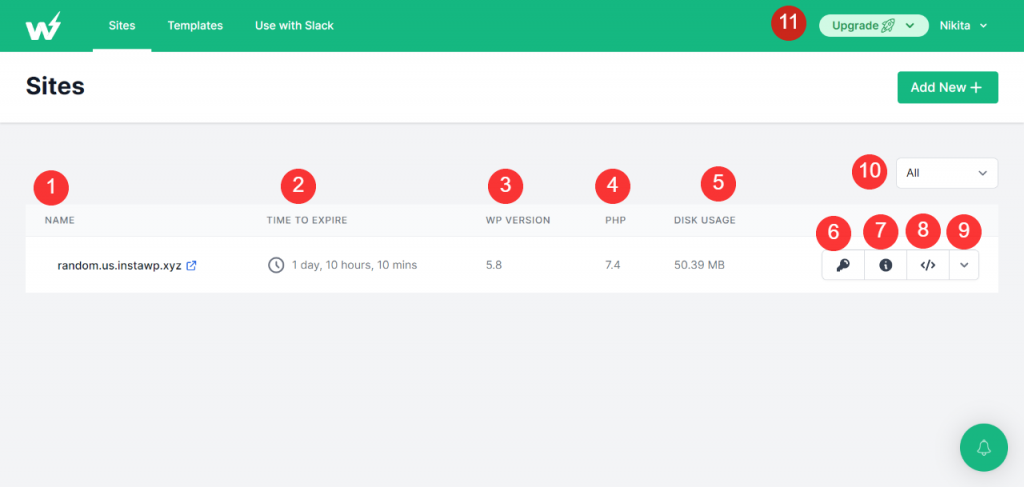
- Site name: The name of your wordpress staging site, if you click on a small arrow type symbol beside the name it will lead you to the wordpress site.
- Time to Expire: It shows the time limit until your site expires.
- WP version: It is the wordpress version on which you are operating your site.
- PHP: It shows the current version of the site.
- Disk Usage: It is the new detail added in the instawp dashboard which tells the amount of disk used by the website to carry out the task.
- Auto Login: It directly leads us to the wordpress dashboard without any complexity.
- View Log: It shows all the error and access logs done by you.
- Code Editor: It leads you to the instawp editor page where you can see the coding files and edit them if required.
- Common options/Actions: When you click on the dropdown box you get different options like “View Creds”, “Delete. Advanced options: They are not available in a free version and it includes Map domain, Access FTP/SSH, Reserve site, and Save Template (this option is free but for only one time).
- View: you can select and view active, expired, reserved, or all sites.
- Upgrade: This option shows your plan usage and if you click on “My Plan” then it will lead you to its subscription plans page.
To add a new site you can click on the “New Site” button above the “View” option. Other than that, it has 3 more tabs on the top of the dashboard which are “Sites”, “Templates” and “Use with Slack.”
This is the simplest and quick way to set up your WordPress staging site.
Features of InstaWP
Below are the few features of InstaWP that make it so good for WordPress Sandbox.
1. Subscription plans
InstaWP has one of the best features to offer you in both their free plans and paid ones. You can start with the free version if you are a beginner because it gives you almost all the features of InstaWP (just with few limitations). If you are an intermediate or advanced user and need more flexibility then, you can go to pro plans. They have various plans from personal to agency level, choose your best one.
2. Live Code Editor
If you love coding and want to experiment with it on self-hosted WordPress then this feature is for you. Live Code Editor lets you preview coding and also edit it as per your need.
3. Access FTP/SSH
This is one of the best features of InstaWP, as it means that your network is encrypted and secure along with your file transfer. FTP is only a file transfer protocol but SSH secures your network. That means, now no more ‘connection is not secure’ alerts.
4. Easy to Use
InstaWP is unlike other self-hosted WordPress sites because of its easy-to-use style. You don’t technically need to be a tech person to use InstaWP. It has easy configuration and an instant site launch feature. Its system is also very fast to use.
There are few more features like “Templates”, “Map Domain”, and “Use with Slack” which you will enjoy using.
So now don’t wait to create WordPress staging.
Conclusion
This is the beginner’s guide on “How to set up a WordPress Staging Site”? There are various ways of creating a testing site but this method is quick, approachable, and suits the best to both beginners and advanced level users.
InstaWP is the best service you can use for building a WordPress staging site. It is not only fast but easy to use, and that’s what we all look for in a service.
(Always remember it is really important to create a testing site for your live website. As we don’t want our hard work and all the creativity to go in vain.)