Projectopia allows you to grant clients access to their own profiles with granular permissions on which fields and files that are able to access in their dashboard. In this article we will run through these three features and how to utilise them.
Profile
Each client and Client Contact in the system has personal / contact details and notification settings that can be edited on the admin side. You can also grant the client / client contact access to manage this in their dashboard themselves, taking the work out of the equation for admins.
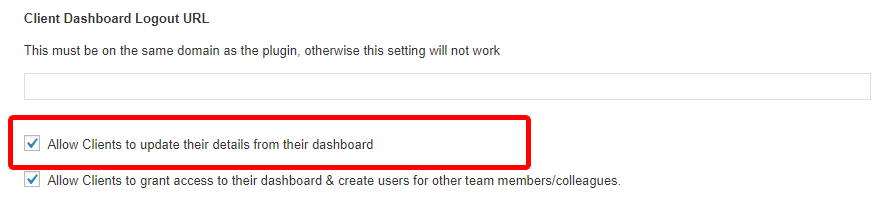
Firstly, to grant access to the Profile page of the client dashboard you need to activate it in the plugin settings, under the Client Dashboard tab.
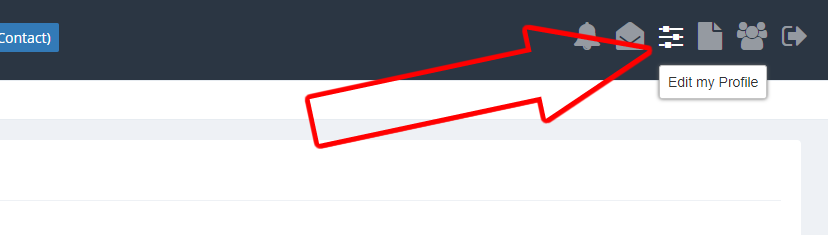
Once activated, the client will then have a new button in their dashboard actions bar.
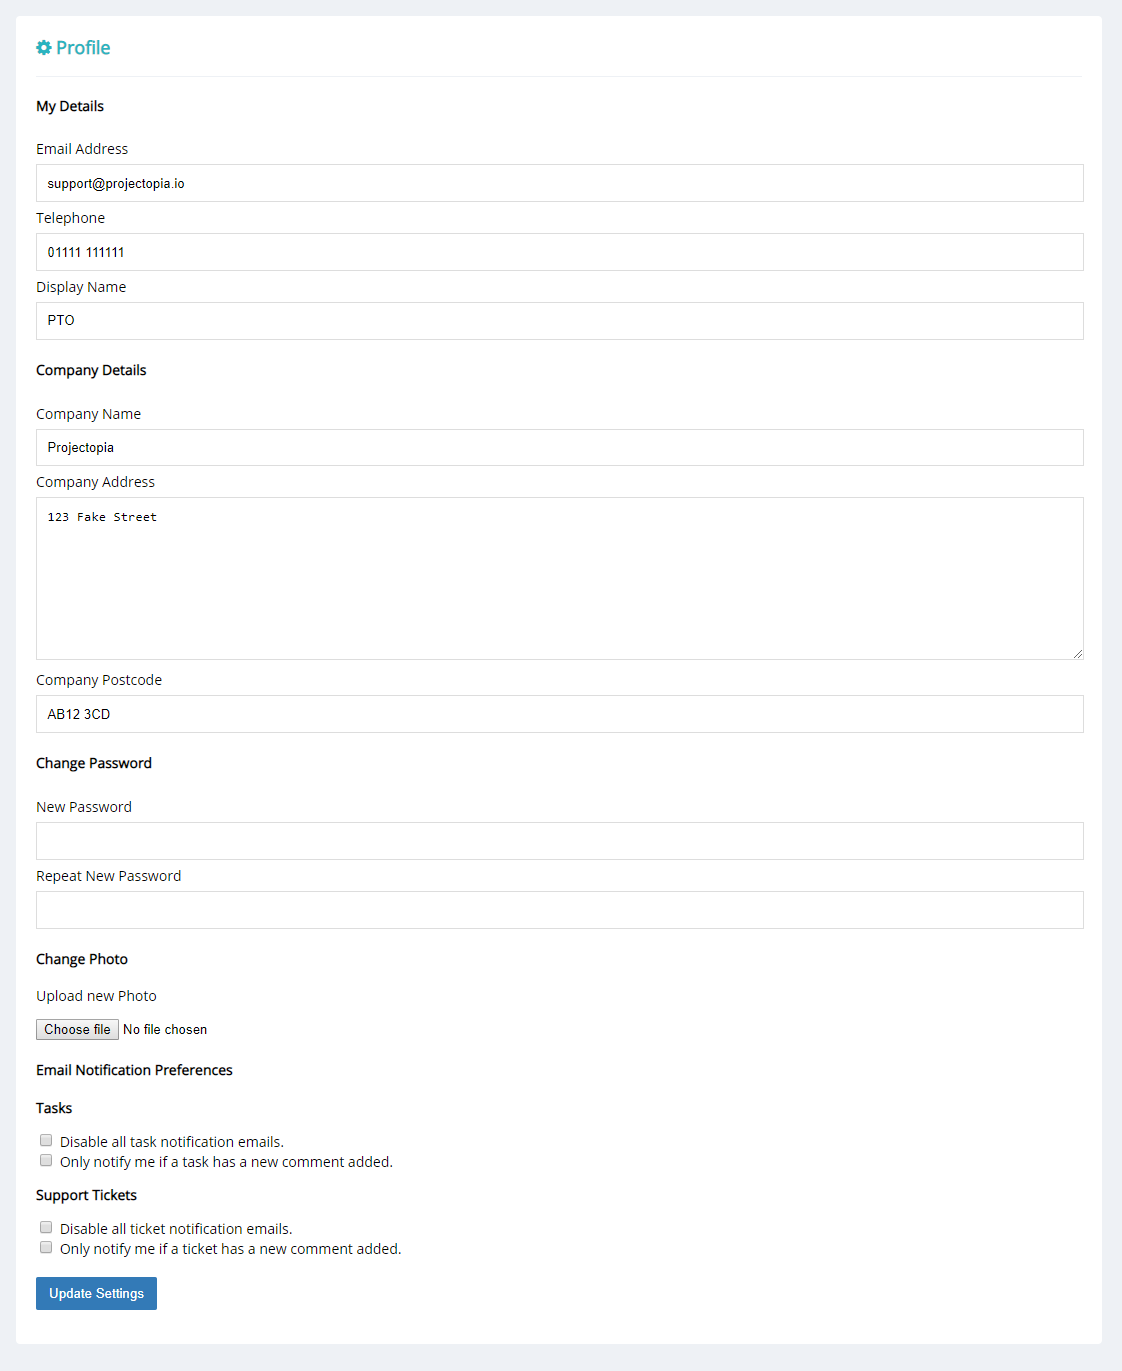
From this page, clients are able to change their personal details, edit their company details, change their password, upload a new photo and select / update their notification settings. The profile is unique to the user who is logged in, so if a client contact is logged in then the profile will be their own.
Client Files
Projectopia allows both admins and clients to upload files to the client account. This is useful for storing documents and files relating to the client that are not project related, such as NDAs etc. Files stored in the client account can be optionally shown in the client dashboard if the file is to be shared with the client. Let’s run through the admin side first of all.
Adding a File as Admin
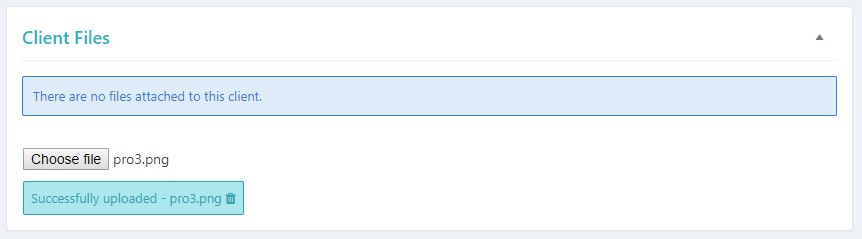
Firstly, head over to the admin page of the client that you want to add a file to. Find the Client Files metabox and click Choose File. Select the file you want to upload and wait for the upload to be confirmed. You can upload multiple files if you wish.
Once you’re done, click the “Update Client” button. Your Client files box will now look like this –
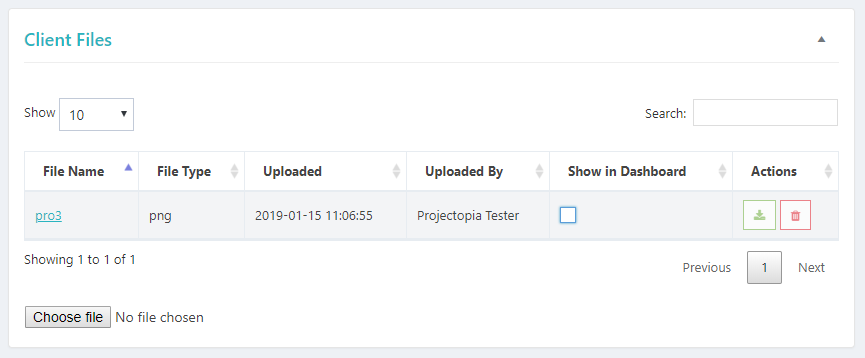
From this table you can view the file, download it, delete it from this client and optionally choose to show it in the client dashboard by checking the box. Any files with a checked box will show on the client dashboard.
Viewing and Adding Files as a Client
The client side works in a very similar way besides them only being able to see the files that the admin has marked as shared. In the last part of the article we discussed how to make files available to clients, so now let’s take a look at what the client sees.
Firstly, log into the client dashboard and click the “Files” button in the dashboard actions bar.
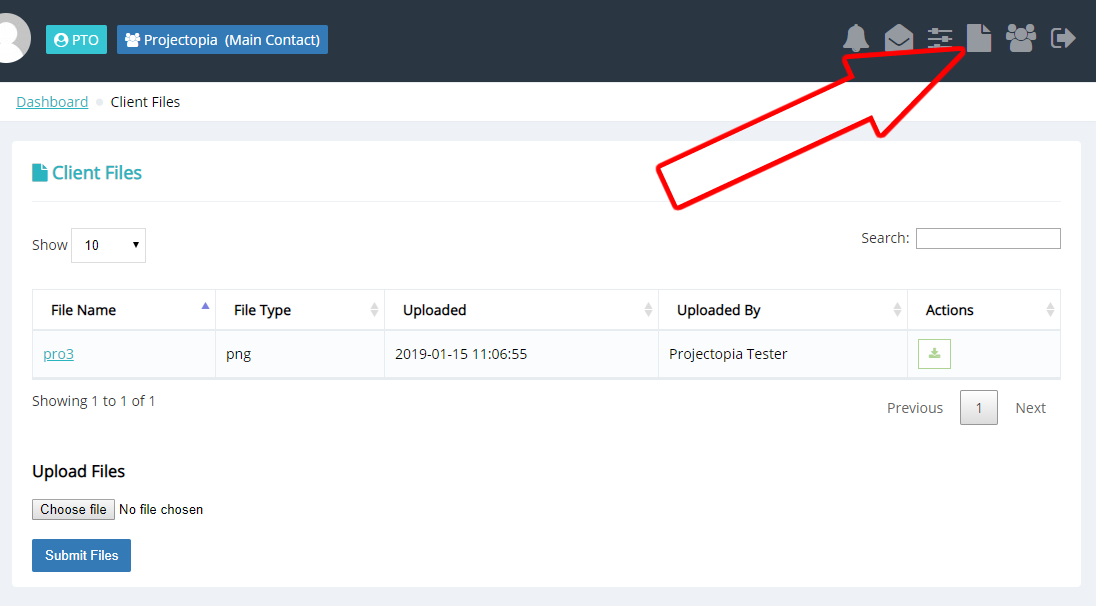
The view here is almost identical to the view on the admin side, albeit on the client side they are unable to delete the files or change the shared status of the files. The file upload works in the same way too, simply choose your files and click the Submit Files button. This will send the files to the client account.
TIP: Files uploaded by the client will default to shared. If you want to hide them from the client then you can remove the checkbox in the admin side.
Custom Fields
Projectopia allows you to add custom fields for your clients on both the backend and client dashboard. To set up which fields are to be shown to your clients, first head over to the Custom Fields page and add your fields as described in Custom Fields for Clients.
Now you’ve set up your fields you will see them in the Custom Fields metabox in the client admin pages.
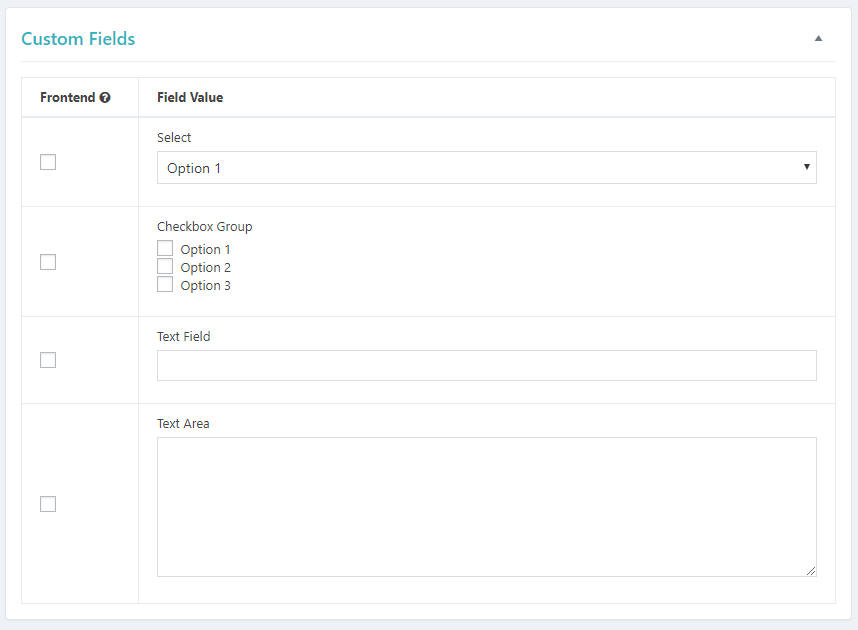
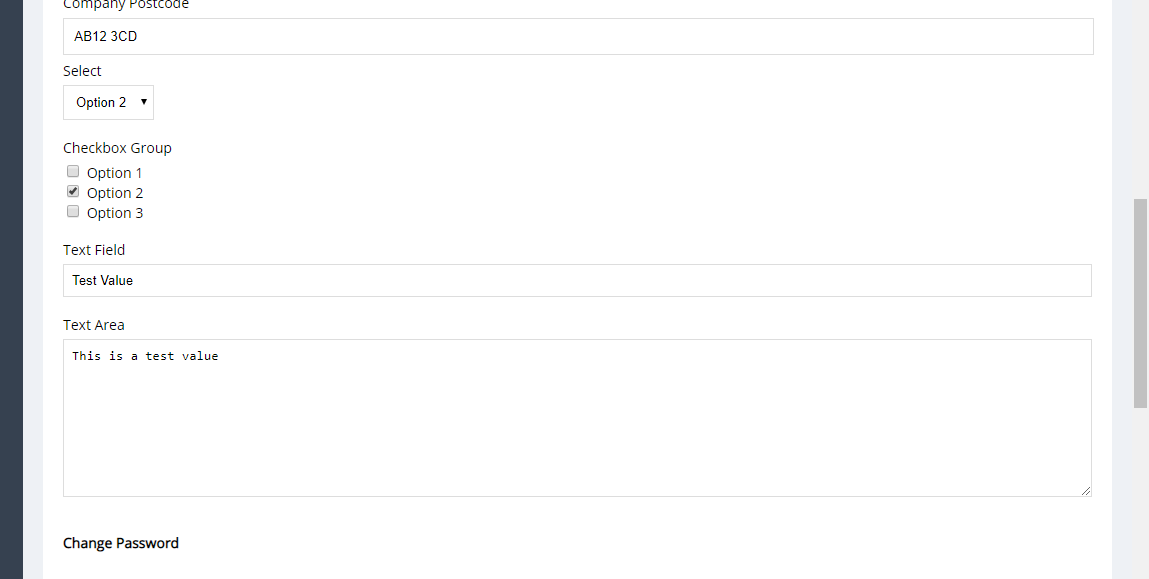
All of these fields can be updated / Edited from the admin side by choosing / entering a value and clicking Update Client. You can also choose to show each field in the client dashboard by checking the box in the Frontend column of the fields table.
Any fields that are set to frontend are available for the client to edit / update. They can be found on the Profile tab of the client dashboard that is explained earlier in this article. Values of fields updated from the admin or client dashboard sides will overwrite what is already present on both sides.