Projectopia is a free WordPress plugin. It allows you to manage your project in the easiest way possible. But, if you decide to expand its functionality through the use of Addons, it might cost you few penny.
Getting started with the installation, you can install the plugin on your website directly from the dashboard of the site or upload the zip file after downloading it on your personal computer.
Installing Projectopia from WordPress Dashboard
In order to install it directly from the dashboard of your website,
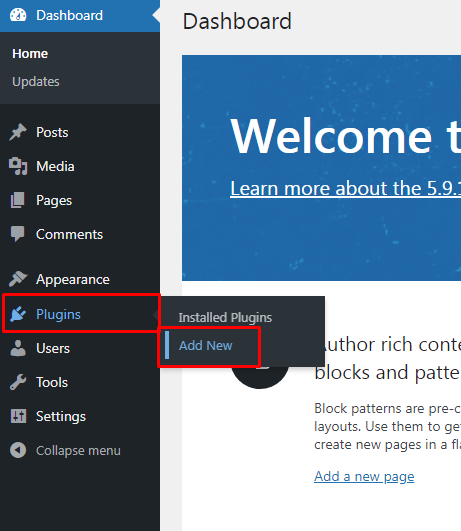
- Head to Plugins>>Add New.
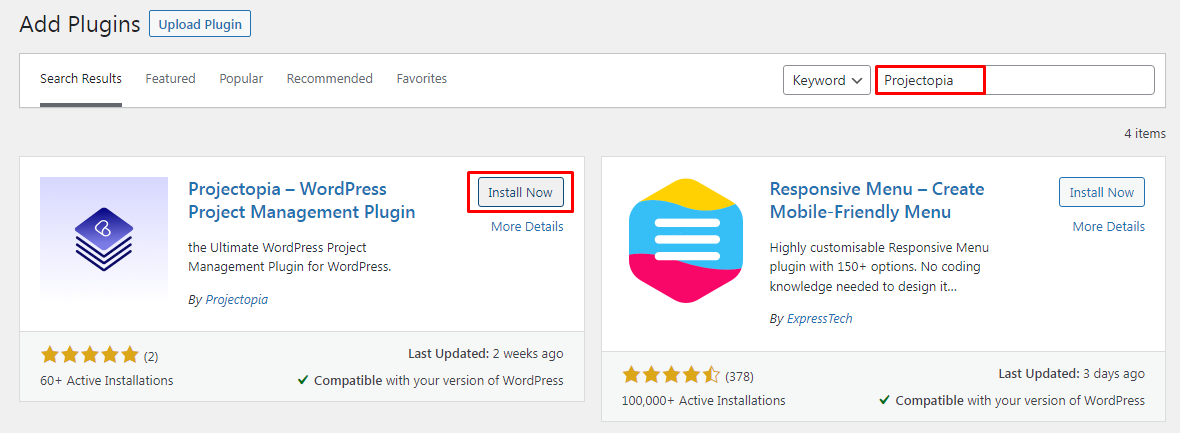
- Type the Keyword Projectopia on the search box.
Once the plugin appears on the page,
- Click on Install Now.
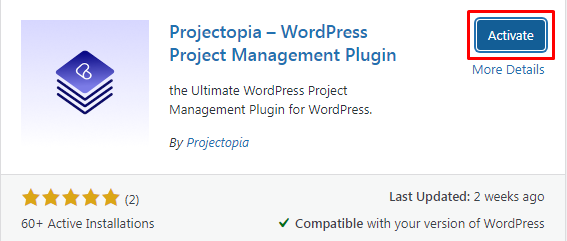
- Activate the Plugin after the installation.
Installing Projectopia from Local Computer
If you don’t like the idea of installing the plugin directly from the site dasbhoard, you can firstly download the plugin on your local computer and then upload it to your website.
- Firstly, download the Projectopia plugin from the WordPress repository.
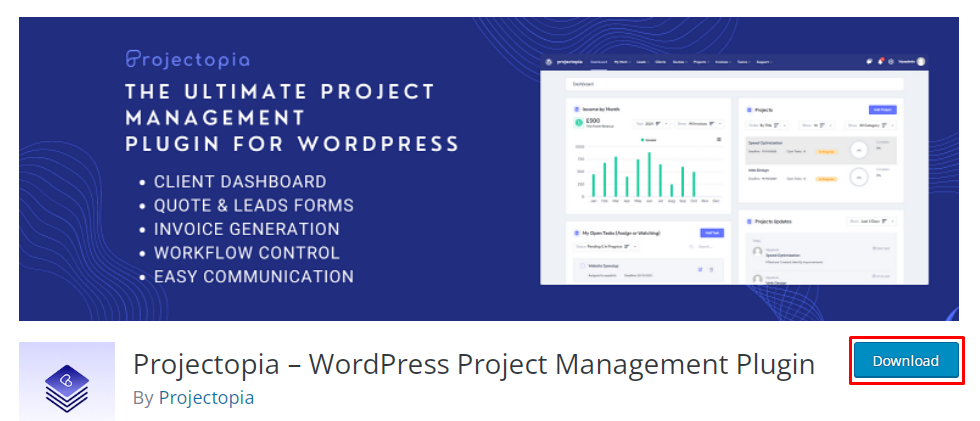
Downloading the zip file of the plugin on your local computer provides you with the option to use it on as many website as you want without performing the manual steps of installing the plugin on the site.
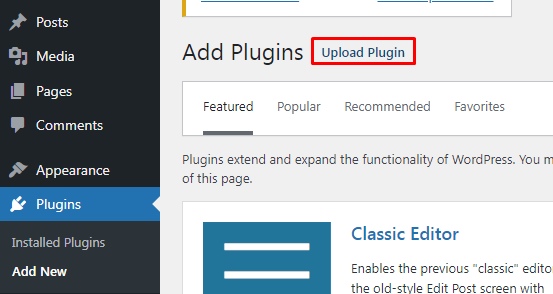
- Head to Plugins>>Add New on your WordPress Dashboard as before.
Now, instead of searching Projectopia on the search box,
- Select Upload Plugin
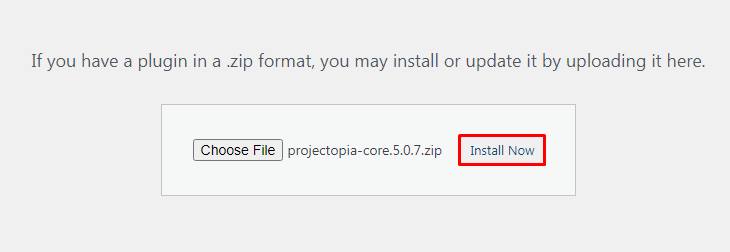
- Select the Zip File of Projectopia Plugin from your local computer and upload it by clicking on Install Now.
- Activate the Plugin.
That’s it. The installation of the Projectopia plugin on your WordPress website is all done!