We recommend translating Projectopia and it’s add ons using loco translate plugin. Please install loco translate plugin ( https://wordpress.org/plugins/loco-translate/ ) before proceeding with the following steps.
- Please make sure that you have install and activated Projectopia
- Please install and activated loco translate plugin.
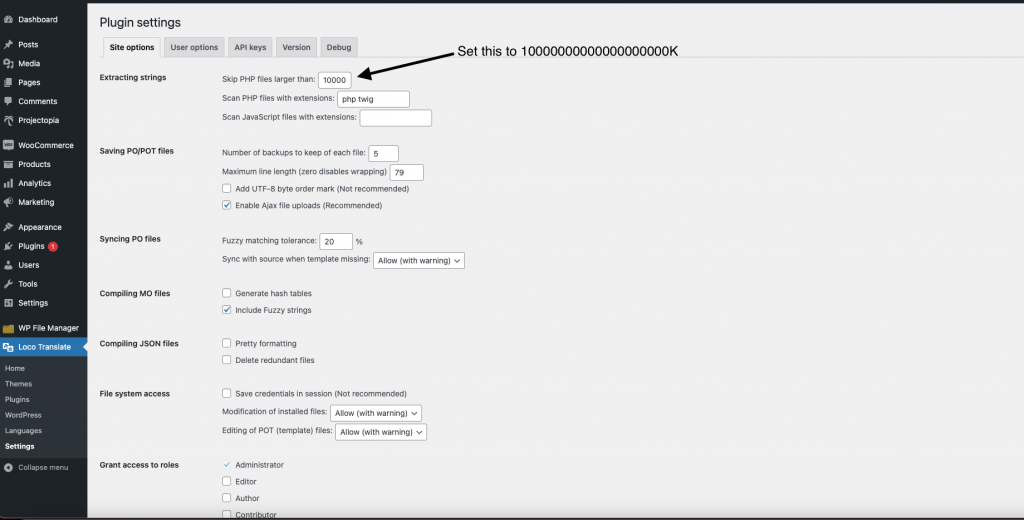
- Go to Loco Translate -> Settings -> Site options ( tab ), find the option -> and set it to a very high value to prevent it from skipping large files. For example: 10000000000000000000K
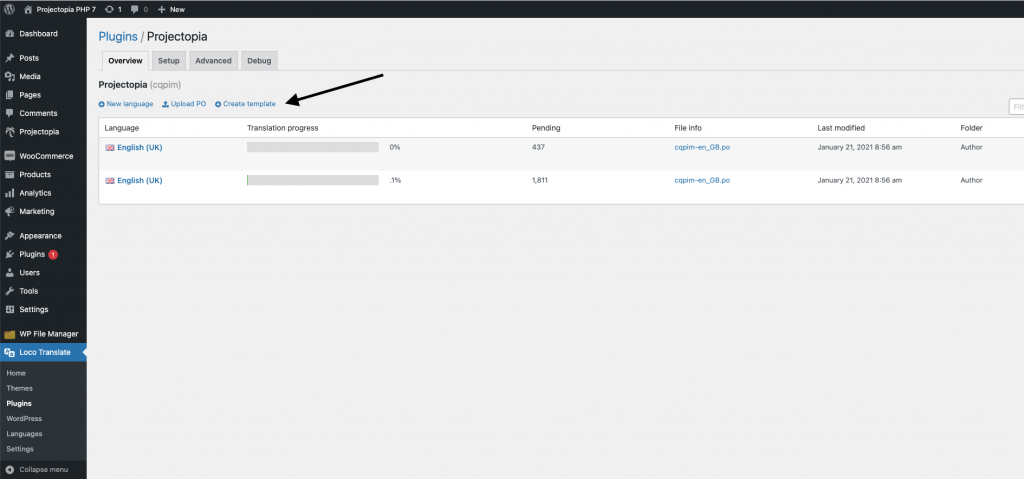
- Go to Loco Translate -> Plugins and select Projectopia
- Click on create template and go through the process to create a pot file.
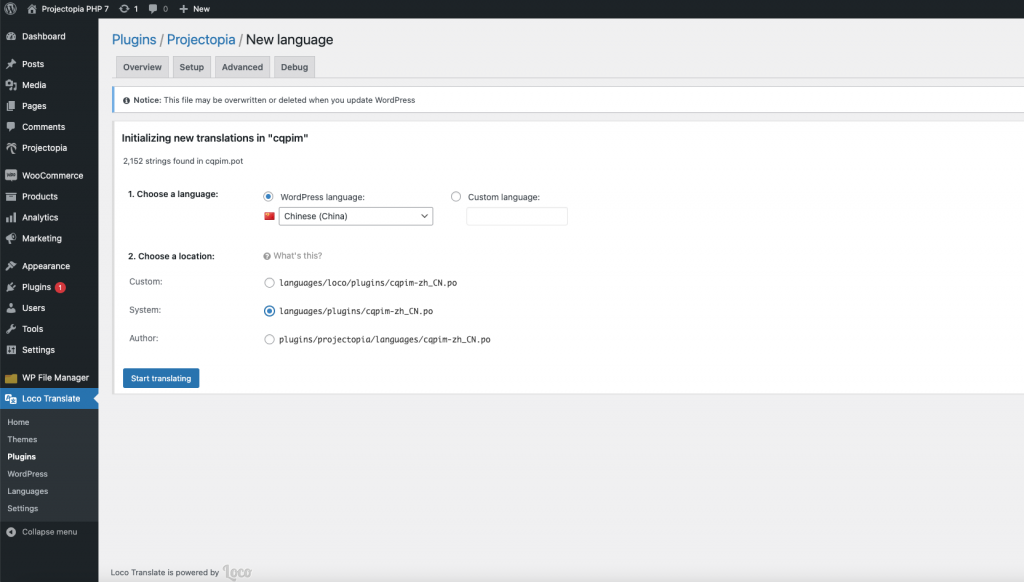
- Next proceed to click on new language and follow through to create your language file.
- Select your language ( in this example, we will use Chinese China ).
As for location to save the file, select System.
- After you are done. Click on Start translating button and you will see the interface for translating the strings.
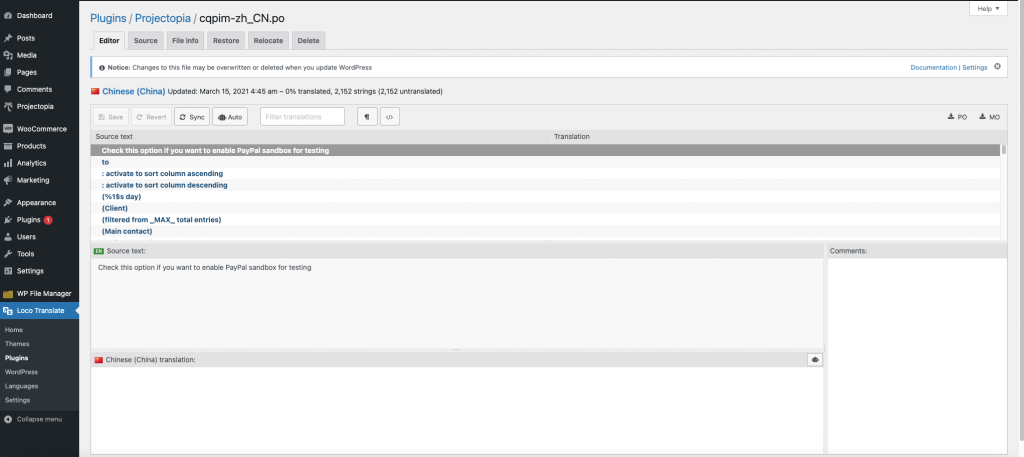
You can click on sync button to update any new strings from the plugin.
- Proceed to translate the strings. In this example we will translate the word Dashboard from English to Chinese.
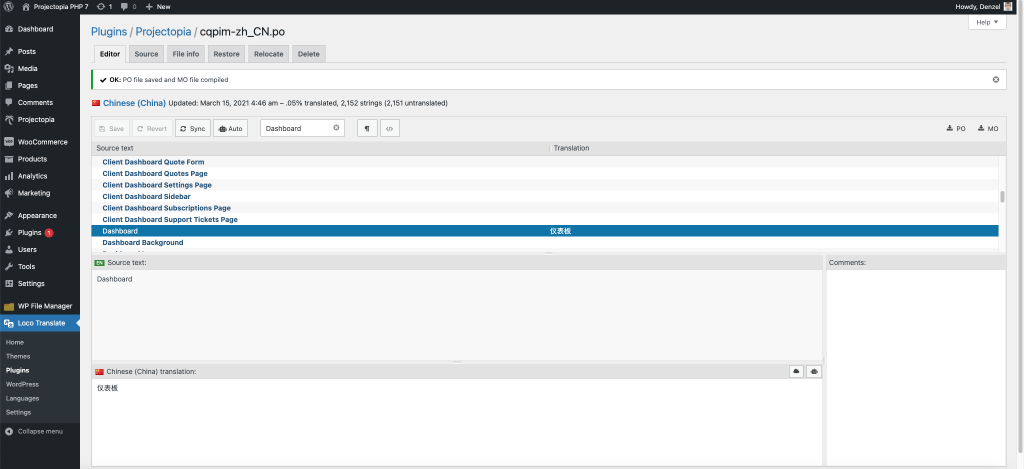
- Remember to click on Save button for every string that you have translated.
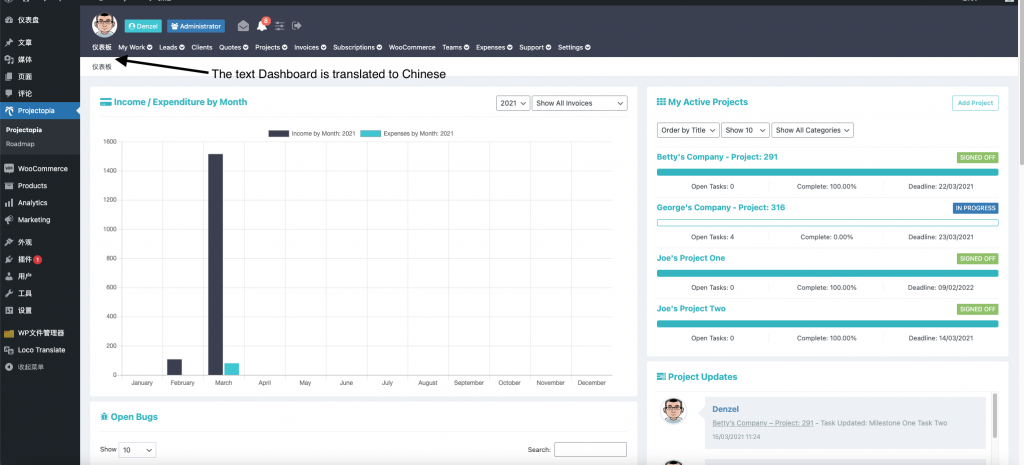
- Now we can see your translated text. Go to WordPress Admin -> Settings -> General -> Site Language and select your country’s language and save changes.
- Go to Projectopia and you will see that the text Dashboard is translated to Chinese.
- That’s all the steps involved for translating. You will need to repeat steps 9 and 10 to complete translating all strings to your language.