Invoices
Project management isn’t just about adding projects or creating a task. An important activity is to create invoices and send them to the client. Projectopia gives you the ease to create invoices in a few clicks.
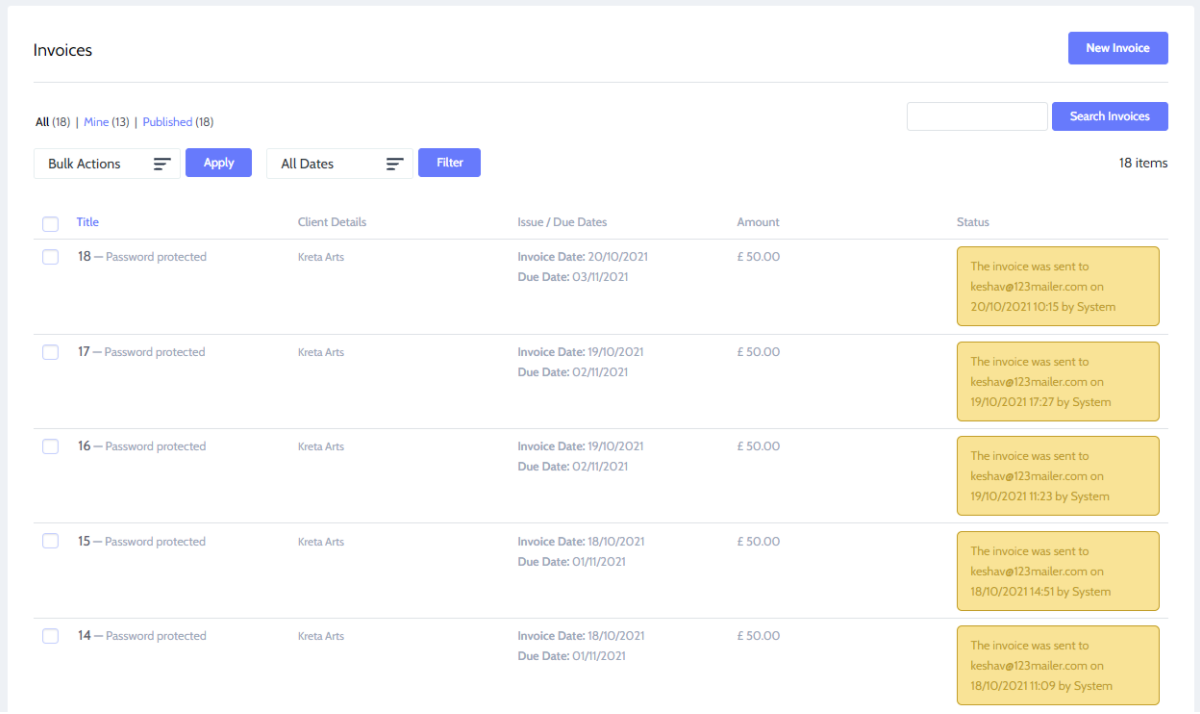
To view all the generated invoices navigate to Projectopia > Invoices. Here you will be presented with a list of all the generated invoices with the Title, Client Details, and invoice issue/due dates, invoice amount, and invoice status.
Adding an Invoice
Project management isn’t just about adding projects or creating a task. An important activity is to create invoices and send them to the client. Projectopia gives you the ease to create invoices in a few clicks.
To get started:
- Click on the dashboard and scroll down to my invoice section.
- To the upper right, you will see Add New Invoice Option.
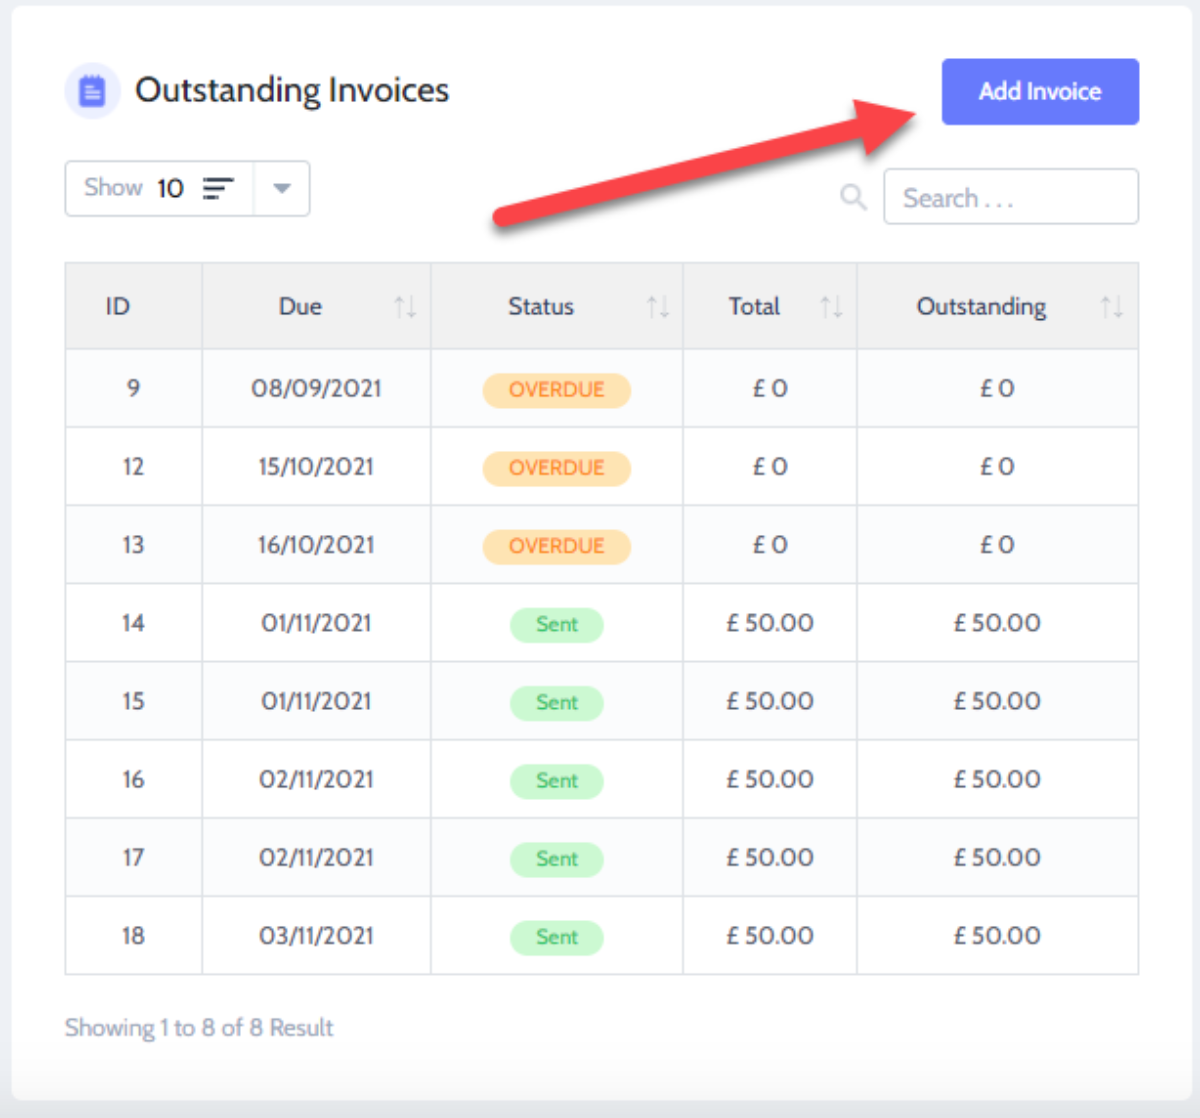
- Click on it to move ahead.
- On this new page, you will need to fill in the details of the invoice.
- Add Title: Give the invoice a name.
- Invoice number: increment the number based on the total invoices created.
- Invoice date: Select a date from the calendar to set a date.
- Client: Select the client, one whom you want to send the invoice.
- Contact: Select the main contact for that client.
- Project: select the project
- Partial Payment: Select the checkbox if you want to allow the client to pay in installments.
- Finally, click on the send invoice to send it to your client.
NOTE: If your client is not able to receive the email notification, please check that your client’s billing email address is valid in your client details.