Team Members
Projectopia allows you to create teams and communicate with each other. You can add team members and assign them various roles.
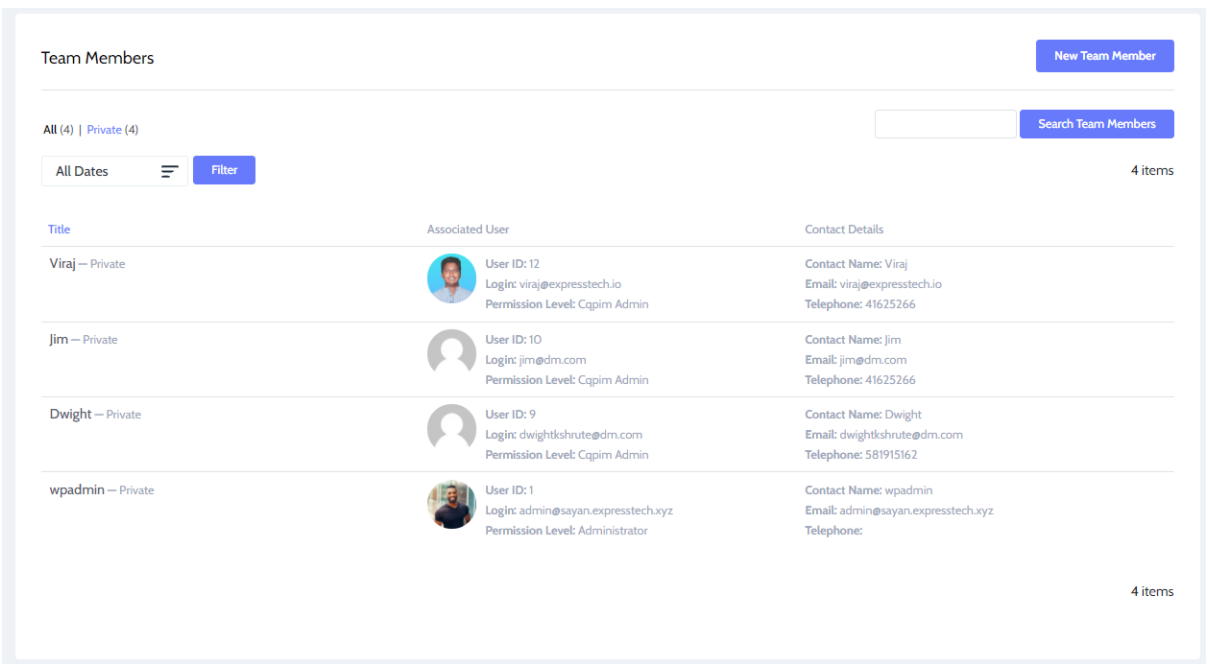
To view all your team members and their contact information, navigate to Projectopia > Teams > Team Members. Here you can view all your team members with details like their user id, login info, permission level, & contact details.
Adding a Team Member
To add a Team Member in Projectopia, first, go to the Teams area by hovering over Teams in the admin menu and clicking Team Members. Then click New Team Member.
You’ll now be presented with a series of fields to complete. These fields are all required as they are used in various parts of the plugin. Fill in all fields as illustrated below and click Update Team Member.
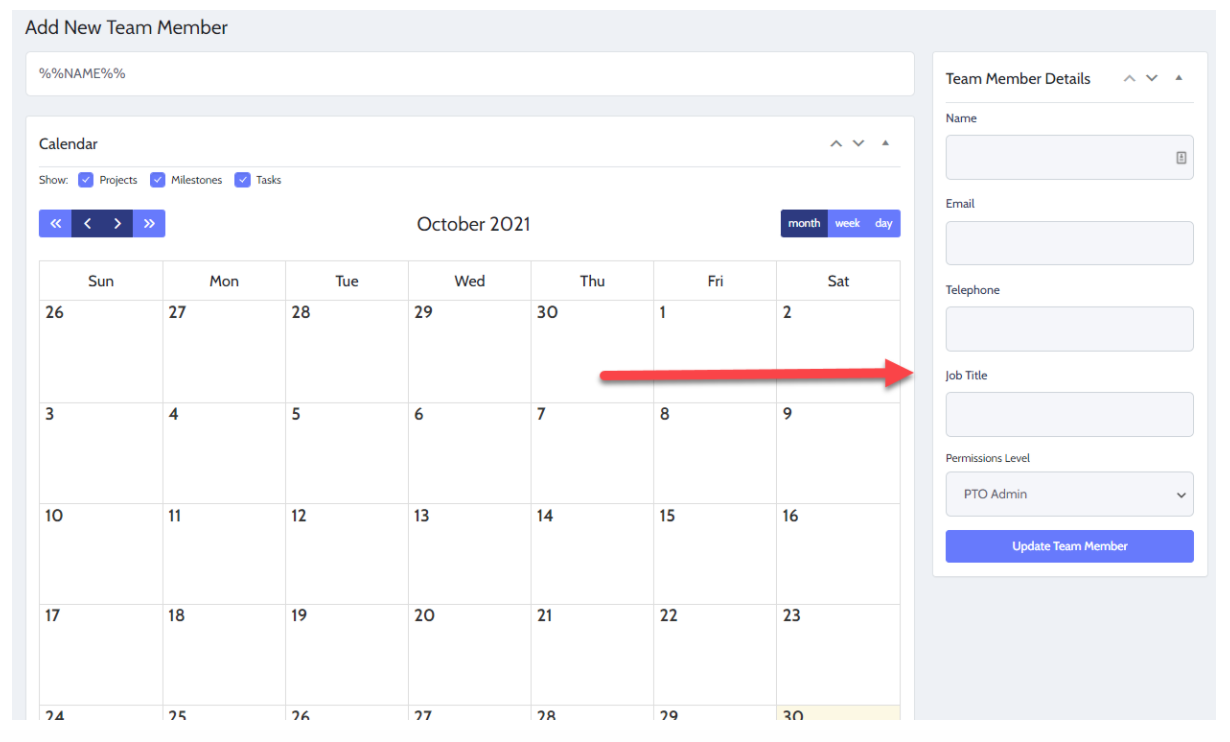
TIP: Be careful when assigning a role that you do not give the user too many permissions. PTO User is a built-in role that only gives the user basic permissions that allow them to work on projects and tasks that are assigned to them.
Add Team Process
Once you’ve clicked Update Team Member, a few things will happen in the background. These are –
- A Team Member will be created in Projectopia.
- A new WP User account will be created in WordPress and given the role selected when creating the team member.
- The user created in step 2 will be linked with the team member created in step 1.
- A welcome email is sent to the new team member with their login details
That’s it, this team member can now log in and manage projects that you’ve assigned to them.